Steps to recover and export Outlook PST files to Office 365
EdbMails Outlook PST to Office 365 migration tool provides a seamless and secure way to transfer PST files directly to Office 365 mailboxes. It preserves folder structure, email properties, and metadata while ensuring a smooth migration without downtime. With features like selective migration, incremental transfer, and direct upload to Office 365, the tool simplifies the entire process for businesses and IT administrators.
Whether you're migrating from an older Outlook version, consolidating multiple PST files, or transitioning from local storage to the cloud, EdbMails offers an intuitive and efficient solution. Supporting all Outlook PST file versions and Office 365 plans, it guarantees a hassle-free migration without any effort.

The following sections cover Outlook PST to Office 365 migration planning, key prerequisites, a step-by-step migration guide, and best practices for a successful transition.
Prerequisites to import PST to Office 365
Before you import PST to Office 365, prepare the target Office 365 server as described in the following section.
- Ensure that you meet the network and bandwidth requirements for the migration. See network and migration planning, performance factors and best practices for Office 365 migration.
- Prepare your target Office 365 tenant. See tenant roadmap for Microsoft 365.
- Purchase an Office 365 licensing plan specific to your needs. You can also sign up for a 30 day free trial and decide to go with a suitable one later. Compare Office 365 business plans and Compare Office 365 enterprise plans
- Create mailboxes for your users in your organization and assign suitable licenses to them.
Add users and assign licenses to Office 365 users
- If you plan to import Public folders from the PST file into Office 365, ensure that you create and configure the Public folder mailboxes on the target server.
- If you plan to migrate In-Place archives to Office 365, enable the archive mailbox on the target server. See steps to enable online archive in Office 365
- If you have a custom email domain from the source to which you want to receive emails after the migration, you must add and verify the custom domain on Office 365.
See steps to add a custom domain to Office 365 and steps to add DNS records to connect your domain
- Configure Office 365 to send and receive large messages
Follow the steps to increase the message size on Office 365 to 150MB.
Steps to migrate PST to Office 365
Step 1: Download EdbMails PST to Office 365 migration tool
- Download and install the EdbMails application on your computer.
- See a detailed list of EdbMails system requirements for PST file migration.
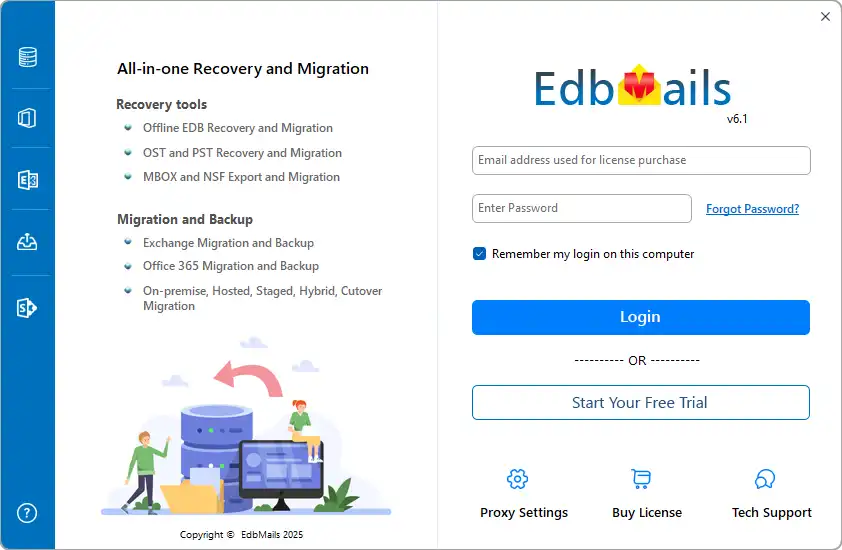
- Launch the EdbMails application.
- Enter the email address & password and click ‘Login’ or ‘Start Your Free Trial’.
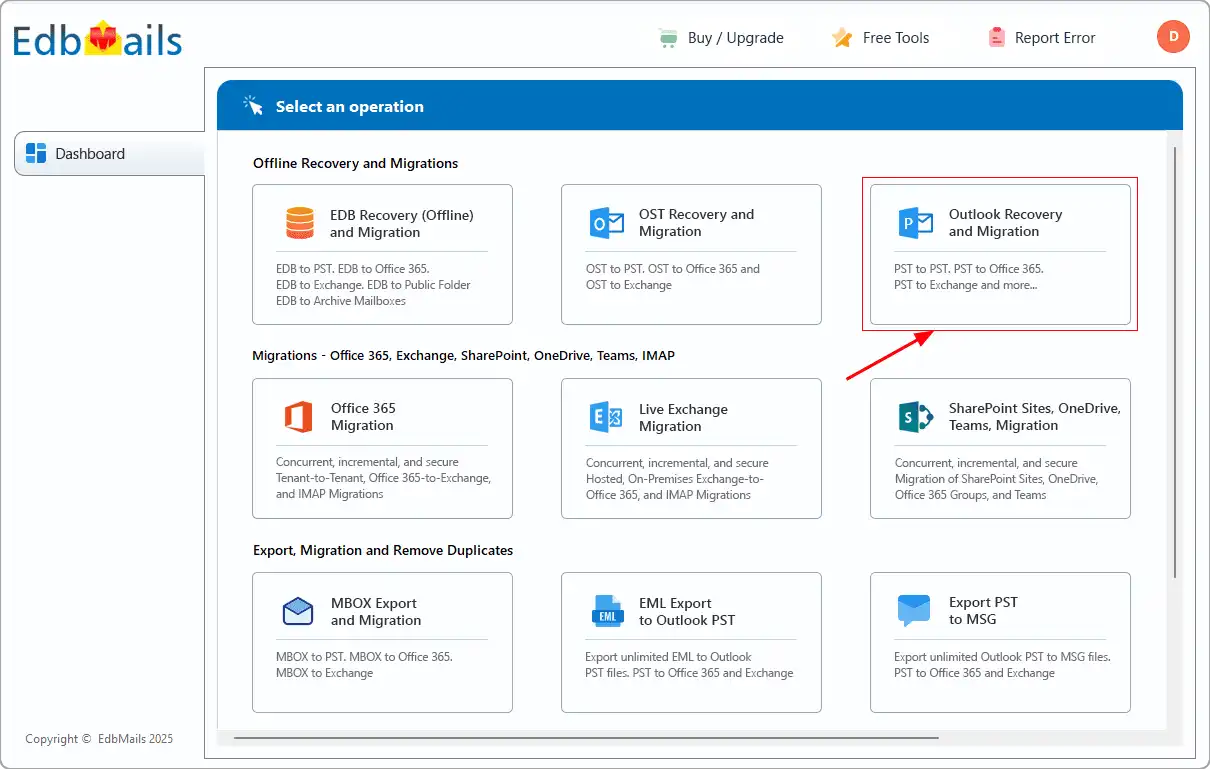
- Select ‘PST Recovery and Migration’
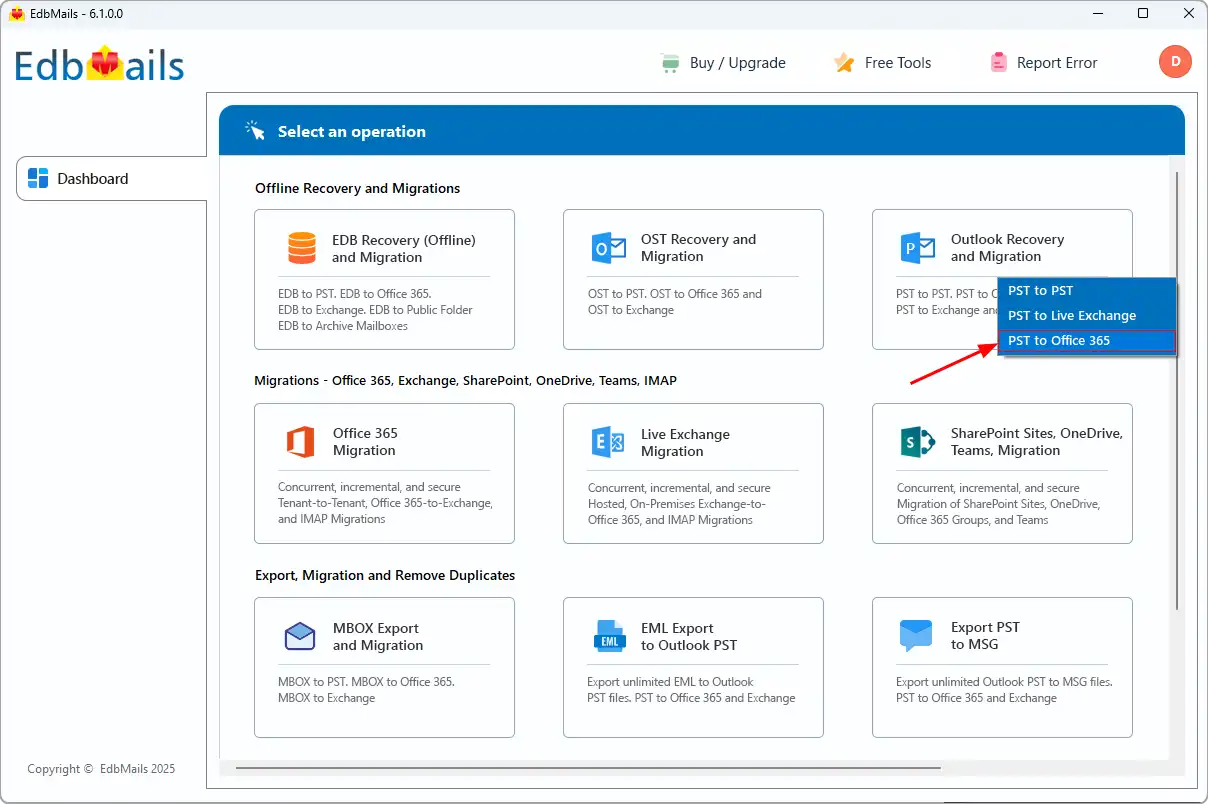
- Select ‘PST to Office 365’.
- To begin a fresh migration, select ‘Start a new migration operation.’ If you want to continue the previous migration, select ‘Choose a migration from previous operations’.
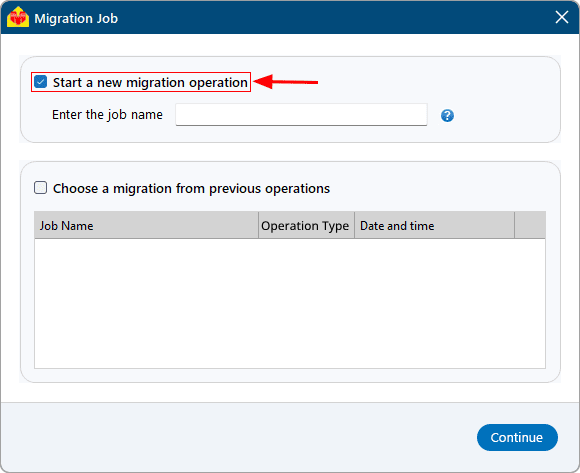
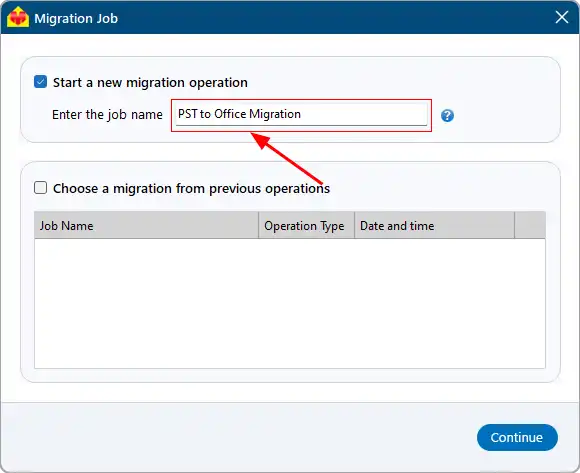
- Enter the job name for the export operation for future identification and click Continue to proceed.
- Download and install the EdbMails application on your computer.
Step 2: Select the offline PST file
- Click ‘Browse for PST file'.
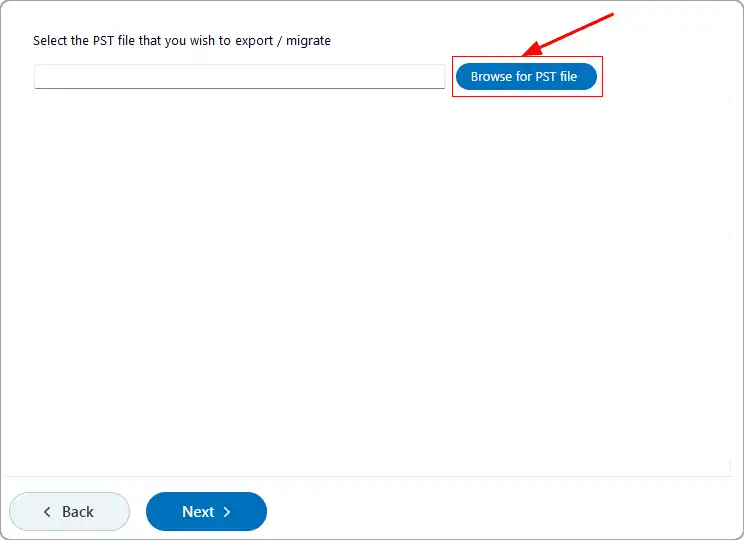
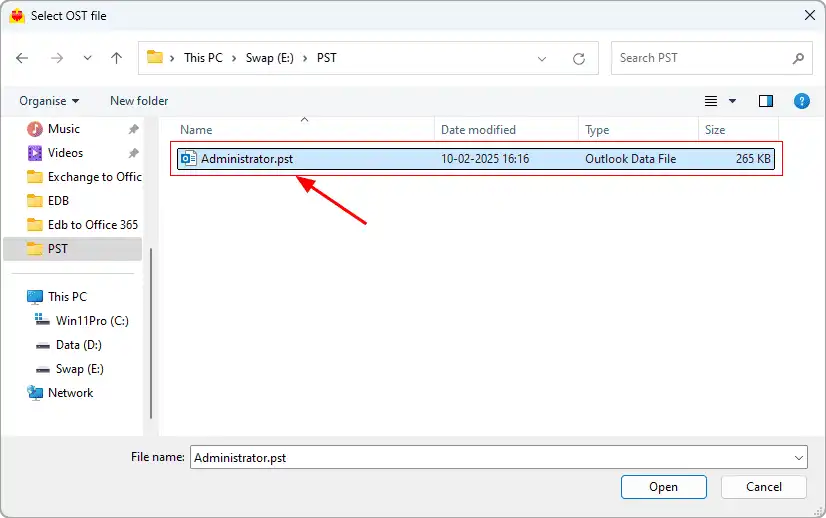
- Select the offline PST file from your computer drive, then click the ‘Next’ button to continue. You can also share the PST file on a network with read and write permissions set to the file.
- Click ‘Browse for PST file'.
Step 3: Preview and select the mailbox
- EdbMails scans your PST file and recovers data in case of corruption.
After completing the recovery process, the full folder structure appears in the left pane. You can navigate through the mailbox and expand folders to preview the recovered items. The built-in preview feature lets you view emails, contacts, notes, tasks, calendars, and folders directly within the application. Additionally, it allows you to open PST files without requiring Outlook.
- Select the required mailboxes/folders and click the ‘Next’ button.
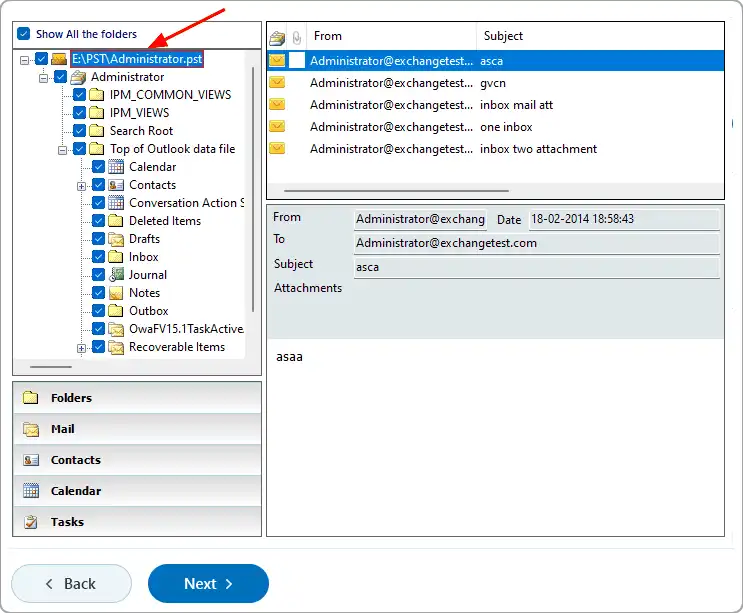
EdbMails offers flexible filtering options to tailor your migration process. For example, you can use date filters to selectively export items within a specific date range.
- EdbMails scans your PST file and recovers data in case of corruption.
Step 4: Connect to target Office 365 server
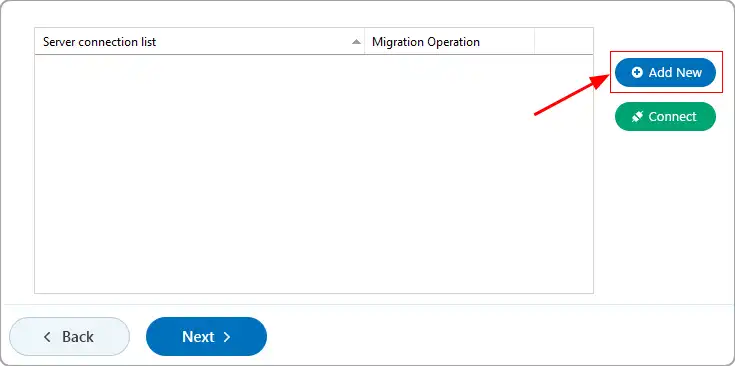
- Click the ‘Add New’ button to establish a new connection to the target Office 365 server. To use the previous connection, select it from the connection list and click the ‘Connect’ button to proceed.
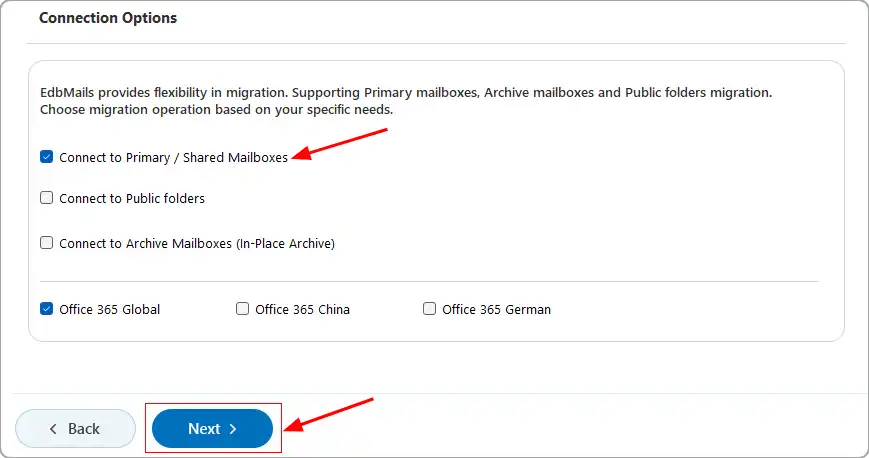
- Select the required connection options and click the ‘Next’ button.
- Select the one of the authentication methods and click the ‘Login’ button to continue.
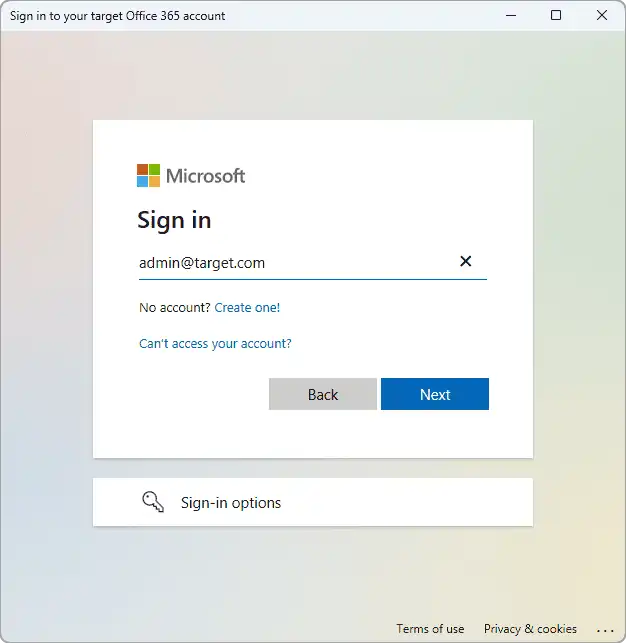
Connect to Office 365 server using secure modern authentication

- Authenticate on Microsoft sign-in page.
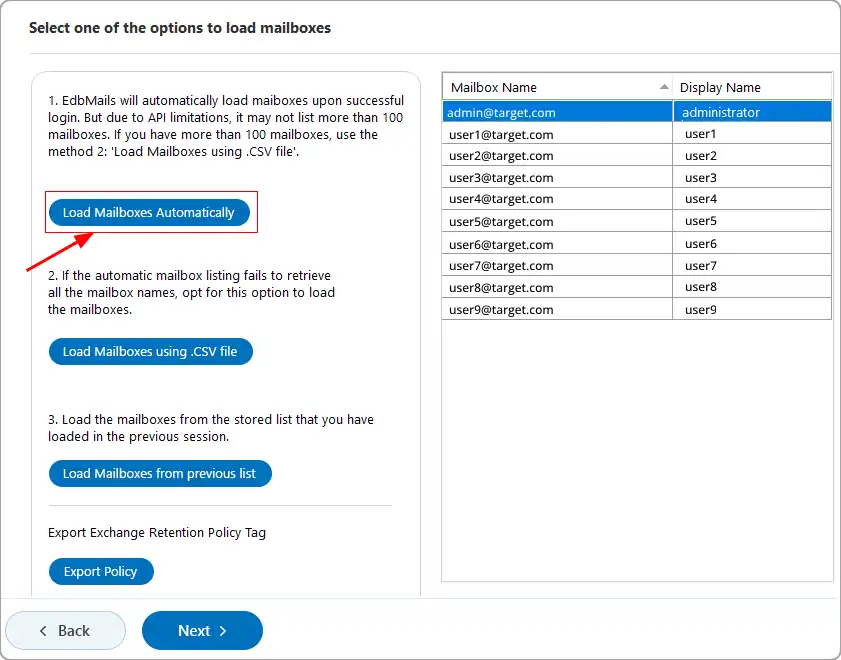
- Select one of the methods to load the mailboxes. You can also load the mailboxes using a CSV file.
- Click the ‘Add New’ button to establish a new connection to the target Office 365 server. To use the previous connection, select it from the connection list and click the ‘Connect’ button to proceed.
Step 5: Map source and target mailboxes
- Choose the required mailbox mapping option
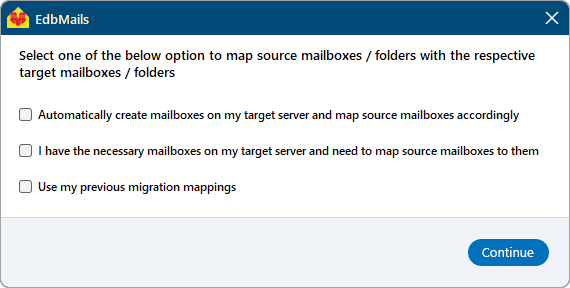
- EdbMails automatically creates mailboxes on your target Office 365 server and assigns the necessary licensees.
Learn more about the automatic mailbox creation process on the target Office 365 server.
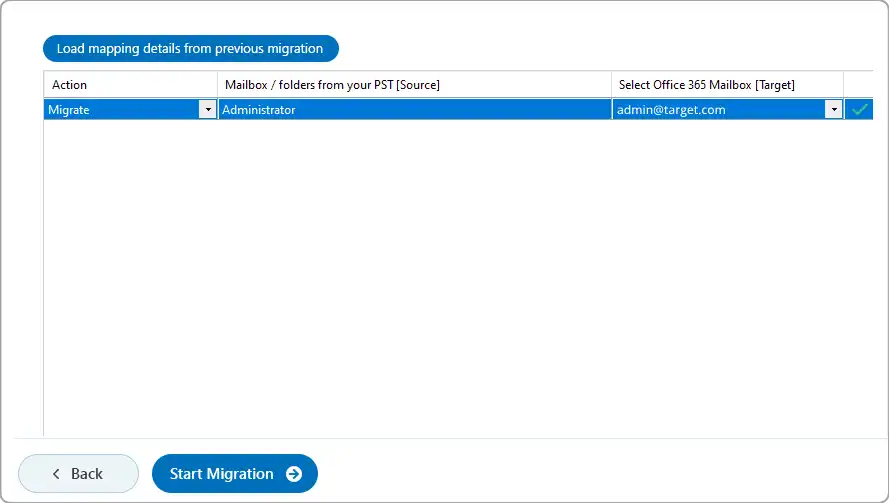
- By default, EdbMails automatically maps the mailboxes and folders between the source and the target server. You can also manually map the source mailboxes to the required target mailboxes.
- Choose the required mailbox mapping option
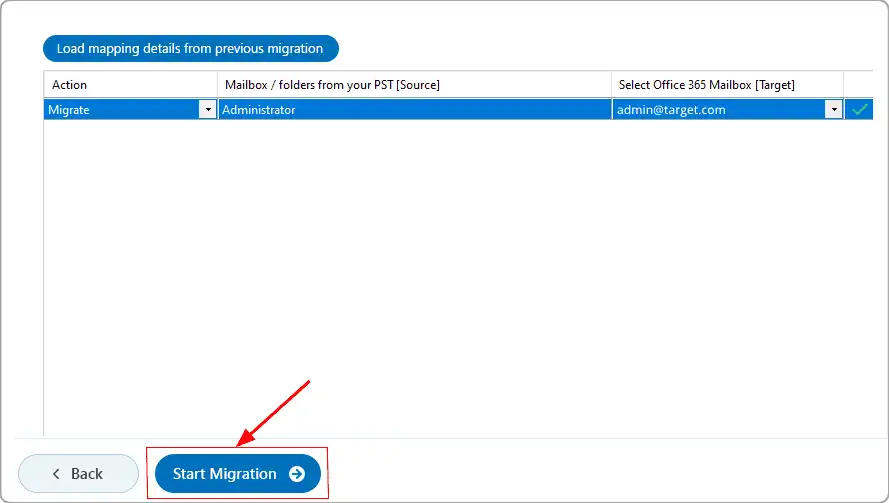
Step 6: Start PST to Office 365 migration
- Click the 'Start Migration’ button to initiate the migration process.
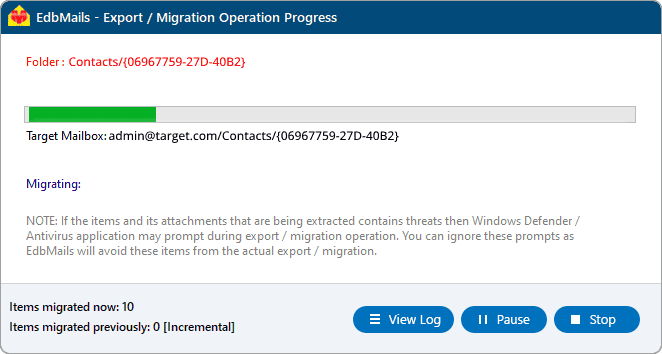
- The migration process is in progress, and you can monitor it in the progress bar. You also have the option to pause or resume the operation at any time. Once the migration operation is completed, EdbMails will display a confirmation message.
- You can verify the list of migrated folders and mailbox items with EdbMails text-based migration log report.
- Login to your target Office 365 server and verify the migrated items.
- Click the 'Start Migration’ button to initiate the migration process.
PST to Office 365 post-migration tasks
- Step 1: Update the MX records to point to Office 365
Update the MX records to direct incoming emails to the target Office 365 server, ensuring email delivery. Additionally, set up the Autodiscover record to enable Outlook to automatically connect to the newly migrated mailboxes.
- Step 2: Create a new Outlook profile for users in the new domain
Configure the Outlook profile for each user in your domain if Outlook has problems connecting to Office 365 mailboxes.
- Step 1: Update the MX records to point to Office 365
PST to Office 365 migration troubleshooting
For troubleshooting, visit our Knowledge Base. For more queries, refer to the Frequently Asked Questions or reach out to our support team.

Benefits of EdbMails for PST to Office 365 migration
- EdbMails enables you to migrate PST files directly to Office 365 with ease.
- You can import large PST files to Office 365 mailboxes without size restrictions.
- Recover, preview, and selectively migrate emails, contacts, calendars, and other mailbox items.
- The migration process ensures data integrity and maintains folder hierarchy without data loss.
- EdbMails uses secure OAuth 2.0 authentication with TLS encryption, ensuring a safe and reliable PST to Office 365 migration.