Public folder to Office 365 migration in a hybrid environment
Scenario:
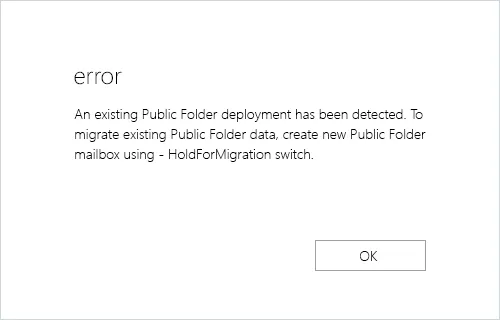
During the Public folder migration in Exchange and Office 365 hybrid environment, you will receive the error 'HoldForMigration' when you try to create Public folder mailboxes on Exchange online (Office 365)
The following error occurs when the Public folder is configured as 'Remote' during the Exchange server hybrid deployment.
Error: An existing Public Folder deployment has been detected. To migrate existing Public Folder data, create new Public Folder mailbox using -HoldForMigration switch
Resolution:
To resolve the public folder error during migration in a hybrid deployment, change and configure the Public folder from Remote to Local.
Before proceeding, ensure that all Public folders are located on the on-premises Exchange server and that no Public folders exist on the target Office 365 server.
Steps to resolve Public folder migration error in Hybrid environment
Set the on-premises Exchange Public Folders to Local
- Launch PowerShell and run the following command to test the Public folder mode in your on-premise Exchange. Command: Copy & Paste it on PowerShell
Get-OrganizationConfig |fl *public*
Result: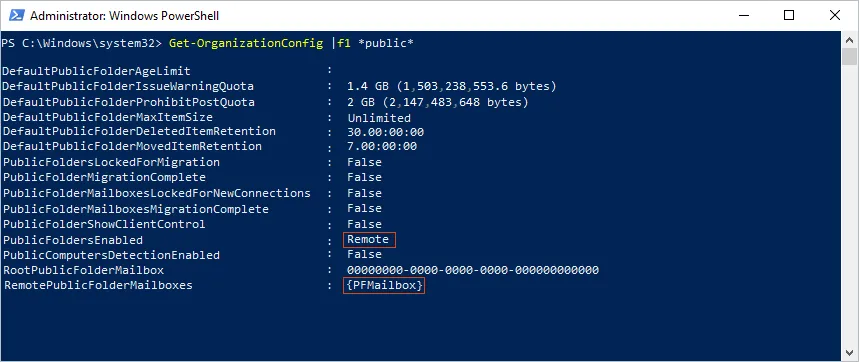
The PublicFoldersEnabled parameter indicates that the Public folders are in Remote mode.
Remove all the existing Public Folder mailboxes on Office 365. Command: Copy & Paste it on PowerShell
Get-Mailbox -PublicFolder |Remove-Mailbox -PublicFolder
Note: In a Hybrid scenario, the Public Folder mailboxes on Office 365 should be empty and without data (if you’re using Public folder on-premises). Ensure that all Public Folder mailboxes on the target are empty before deleting them.
Run the cmdlet twice because it is not possible to delete the primary mailbox before deleting the others when there are multiple Public Folder mailboxes.
Run the following command and change the Public folder mode to Local. Command: Copy & Paste it on PowerShell
Set-OrganizationConfig -PublicFoldersEnabled Local -RemotePublicFolderMailboxes $Null
- Rerun the command from step 1 to verify the Public folder mode.
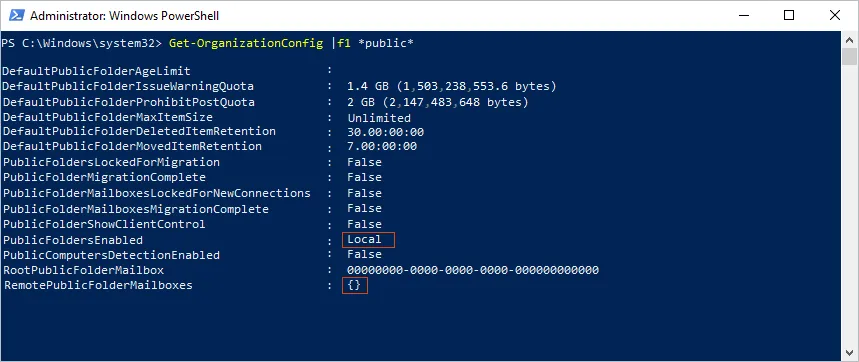
The parameter PublicFoldersEnabled is changed to Local
Note: Changing the mode to Local disrupts connectivity with on-premises Public Folders for all Office 365 mailbox users. Before you begin, plan the activity and backup your Public folder mailboxes.
- Launch PowerShell and run the following command to test the Public folder mode in your on-premise Exchange. Command: Copy & Paste it on PowerShell
Create Public folders on the target Office 365 server
- Login to the Admin center and create Public folder mailboxes
Assign root access to the Public folder to the admin account that will be used for the migration. You do not have to create all of the Public Folders in Office 365. Simply create the top-level folders, and EdbMails will create the rest and migrate the permissions during migration.
- Run the following command to assign the Public folder mailbox as default to the admin account Command: Copy & Paste it on PowerShell
Set-Mailbox -Identity
-DefaultPublicFolderMailbox - Run the below cmdlet and verify if the Admin account is assigned the Public folder mailbox Command: Copy & Paste it on PowerShell
Get-Mailbox|flPrimarySmtpAddress,DefaultPublicFolderMailbox,EffectivePublicFolderMailbox

- Login to the Admin center and create Public folder mailboxes
Migrate Public folders to Office 365 in a hybrid environment with EdbMails
- Step 1: Download and Install EdbMails application setup
a. Download and install EdbMails on your computer. Download
b. Double click the EdbMails setup (EdbMailsSetup.exe) to install the application.
c. Follow the instructions that appear to complete the installation.
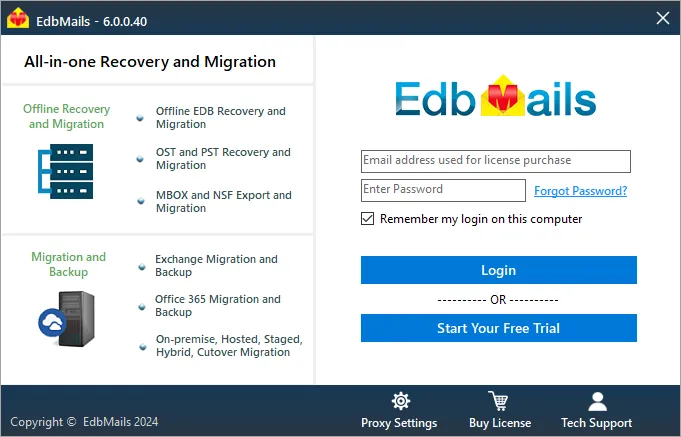
- Step 2: Enter the email address to login or click 'Start Your Free Trial'
Click the 'Login' or 'Start Your Free Trial' button.
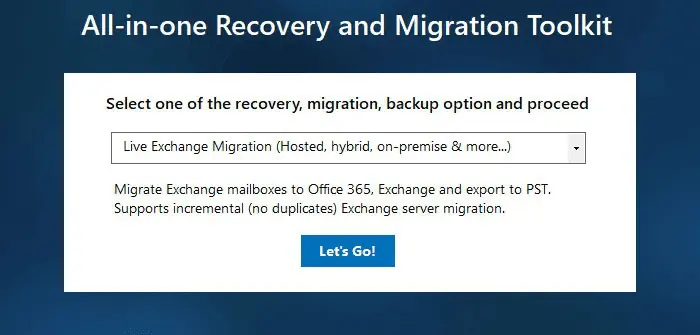
- Step 3: Select the migration technique as 'Exchange Migration'
Select the option 'Exchange Migration' and click the 'Continue'.
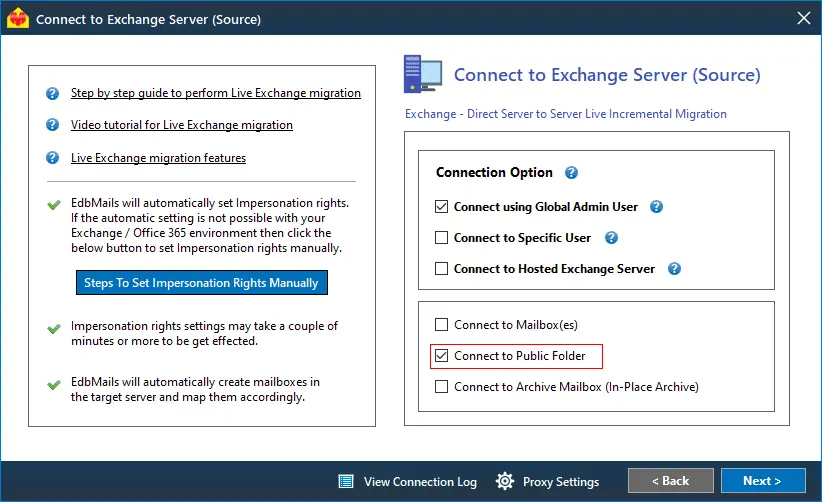
- Step 4: Connect to Source Exchange Server
Exchange Public Folder Migration
Note:
1. For Public folder migration ensure that you have Public folder available on your source server.
2. You can migrate Source Public folder to Target server Public folder. OrLogin to Source Live Exchange
Click here for the detailed steps on Exchange server login using EdbMails
NOTE: For Public Folder migration ensure that you have selected 'Connect to Public Folder' option in the login screen during source server login.
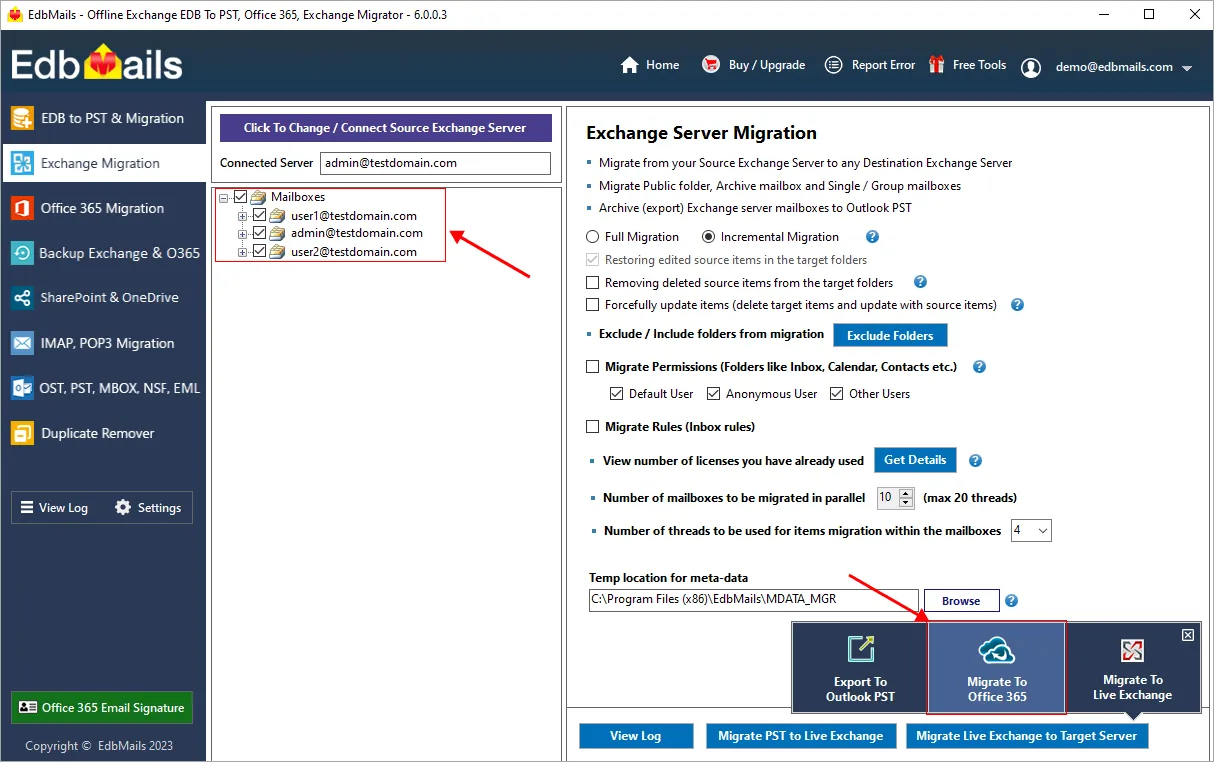
On successful login, you will be displayed with the Public folder hireharchy.
- Step 5: Perform Exchange Public Folder to Office 365 migration
Select the Exchange Public Folder for migration
Select the Exchange Public Folder that you wish to migrate.
Choose the migration type as 'Full migration' or 'Incremental migration'.
Click the 'Migrate to Destination Office 365 [Incremental]' button to continue.
- Step 6: Login to Destination Office 365
Login to the target Office 365 account. Click here for the detailed steps on Office 365 login using EdbMails
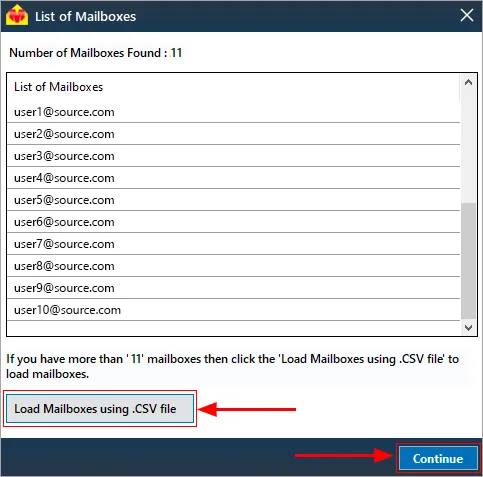
On successful login, you will be displayed with the list of mailboxes along with shared mailboxes.
Load Mailboxes from CSV
After successful login, if the automatic mailbox listing has failed to retrieve all the mailboxes name then you can load all the mailboxes name using .csv file. However, if the listing is successful then you can ignore this step and continue to next step.
Click here for the detailed steps on listing mailboxes using '.CSV' file
Click the 'Continue' button.
- Step 7: Map Source and Target shared mailbox
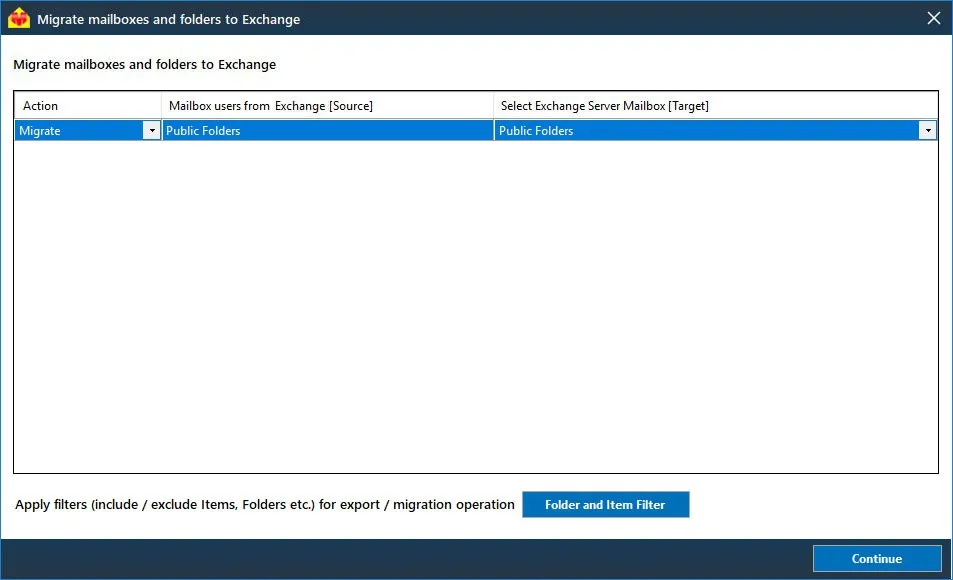
Map the source mailboxes to target Office 365 shared mailbox. Click here for the details.
- Step 8: Start the Migration Operation
Click the 'Continue' button to start the migration operation.
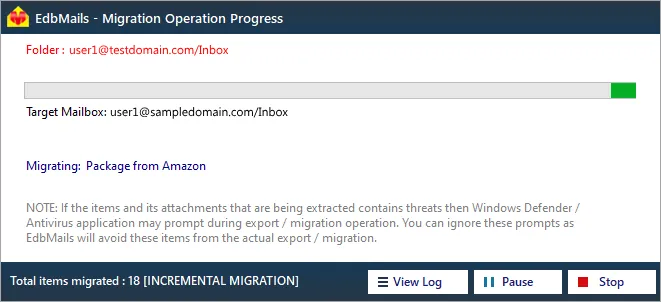
That's it! During migration operation, you can view the progress as shown below.
Appropriate message will be displayed on completion of the migration operation.
Click the 'View Log' button to view the migration operation log.
Login to your Office 365 account to verify migrated items such as emails, calendars, contacts etc.
- Step 1: Download and Install EdbMails application setup
Post Migration activities
If you plan to use Public folders for all Office 365 users in the cloud, run the following cmdlet and set the necessary permissions. Copy & Paste it on PowerShell
Get-Mailbox|flPrimarySmtpAddress,DefaultPublicFolderMailbox,EffectivePublicFolderMailbox
Then, remove the on-premises Public folders.
If you plan to allow specific Office 365 users to access the on-premise Public folders, run the cmdlet to restore access to the on-Premises Public Folders. Copy & Paste it on PowerShell
Set-OrganizationConfig -PublicFoldersEnabled Remote -RemotePublicFolderMailboxes
Keep in mind that we cannot absolutely assure that you will be able to perform this activity with success.


