Clean and dirty shutdown of Exchange database
In an Exchange server environment, the EDB (Exchange Database) file stores crucial data, including user mailboxes, emails, contacts, tasks, attachments, and more. Exchange server transactions, such as updates, deletions, and edits, are first written to log files and then committed to the database. When these transactions are synchronized and up-to-date, the database is considered to be in a Clean Shutdown state, allowing the EDB file to mount properly to the server without errors. However, even when the database is in a Clean Shutdown state, there are cases where the EDB file may fail to mount, leading to confusion among administrators.
EdbMails EDB to Live Exchange Migrator provides an effective solution for such mounting issues. It helps recover mailbox data from an EDB file that fails to mount by guiding users through a step-by-step process to repair the EDB file, resolve mounting problems, and restore the mailbox data. EdbMails can directly migrate recovered data to a live Exchange server or Office 365, making it a vital tool for administrators dealing with mounting failures.
In this guide, we will explore common reasons why an EDB file in a Clean Shutdown state fails to mount and how EdbMails can help resolve these issues. By following the outlined steps, administrators can quickly restore mailbox data, minimize downtime, and prevent data loss.
How to check the state of the Exchange database?
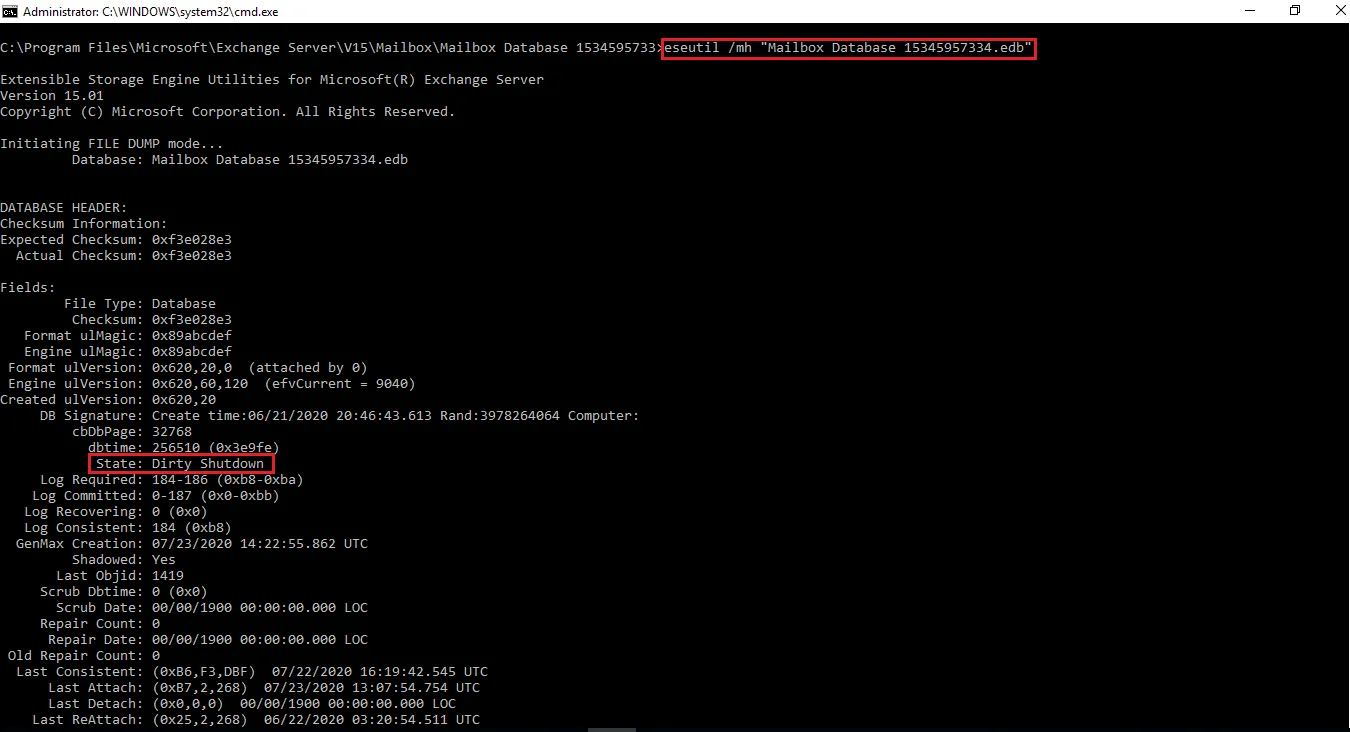
Eseutil is a Microsoft built-in utility to check the Exchange database state. It is installed in the Exchange server bin directory. Depending upon your Exchange server versions, navigate to the location of eseutil and start the Windows command prompt as a system administrator.
Run the following cmdlet to check the Exchange database state
C:\Program Files\Microsoft\Exchange Server\V15\Mailbox\MBX1 eseutil /mh “MBX1.edb”
The cmdlet eseutil /mh checks the status and under the State field, you can see if the database file is in the Dirty Shutdown or Clean Shutdown as shown.
If the Exchange database is in the Clean Shutdown, you can normally mount it with the Mount-Database cmdlet.
Mount-Database -Identity ExchangeServer1\MBX
However, the EDB may fail to mount even when it is in the Clean Shutdown state due to various reasons.
How to resolve the issue ‘Exchange Database in Clean Shutdown does not Mount’?
When an Exchange database in Clean Shutdown fails to mount, it indicates a database indexing issue or insufficient space on the hard disk. When you open the Event Viewer, you might see the following error message with the error code (ec) 1142 and Event ID:1009.
The indexing of mailbox database MBX1 encountered an unexpected exception. Error details: Microsoft.Exchange.Search.Core.Abstraction.OperationFailedException: The component operation has failed. —> Microsoft.Exchange.Search.Engine.FeedingSkippedException: Feeding was skipped due to state Unknown. Failed to read notifications, MDB: 6ef27c68-8839-4397-8f0f-64420c2f788e. —> Microsoft.Mapi.MapiExceptionMdbOffline: MapiExceptionMdbOffline: Unable to read events. (hr=0x80004005, ec=1142)
Method 1: Check and restart the Exchange server services
The first step in resolving the issue is to verify whether the Exchange Server and its associated database services are running. The Microsoft Exchange Information Store service is responsible for managing both mailbox and public folder databases. If this service is stopped, blocked by antivirus software, or interrupted by conflicting applications, the databases become inaccessible and dependent services may also fail to start. To address this, follow the steps to restart the necessary Exchange services and ensure they are functioning properly.
- Press 'Window Key + R' and type 'services.msc'
- Find the service named Microsoft Exchange Information Store and Microsoft Exchange Mailbox Replication. Right click on the item and select 'Start'. If the service has been disabled or stopped, click 'Restart'
Note: If an antivirus software on your computer is blocking the Exchange services, disable the antivirus temporarily or add a whitelist to exclude the Exchange services.
Method 2: Check the drive storage space on your computer
If the database fails to mount despite being in a clean state, it may be due to insufficient storage space. As the Exchange database grows, the available disk space can become inadequate. In such cases, consider upgrading to a higher-capacity hard drive on which the Exchange Server is installed to ensure smooth mounting and operation.
- Right click on the Drive > Click 'Properties'
- Check the Free Space of the Volume
If you're running out of space where the Exchange server is installed, consider upgrading your hard drive or moving the database to a different drive or location.
See Exchange server storage configuration options for single and multiple databases per volume.
Circular logging is a feature in Exchange that overwrites transaction log files instead of creating new ones. While it helps conserve disk space, enabling it is generally not recommended unless you're critically low on storage. Keep in mind that transaction logs are essential for performing a soft recovery using tools like eseutil. To safely manage space without losing recovery options, it's best to back up the Exchange database using Windows Server Backup, which also clears committed log files during the process.
Method 3: Check the database cluster and reboot the Exchange server
If your Exchange database is part of a Database Availability Group (DAG), open the Failover Cluster Manager to verify the health of the cluster nodes. A database may fail to mount if any DAG member is offline or unresponsive.
To resolve this, reboot the affected Exchange server and repeat the process for any other offline members. Once the servers restart, check the cluster and database status again. The cluster should be online, and the databases should mount successfully.
Method 4: Perform a reindexing of the Exchange database
The Update-MailboxDatabaseCopy cmdlet seeds a content index catalog for a mailbox database copy.
Update-MailboxDatabaseCopy -Identity DB1\MBX1 -CatalogOnly
The following cmdlet reseeds the Exchange database copy by deleting and updating the existing files.
Update-MailboxDatabaseCopy DB1/MBX1 -DeleteExistingFiles
If none of the aforementioned solutions work, it is recommended to use a third-party Exchange recovery software to restore your mailboxes from the Exchange database file. The following section describes the recovery and migration with EdbMails.
Method 5: Repair and migrate the EDB file to Exchange with EdbMails
EdbMails Exchange Repair Tool is a Microsoft-partnered solution designed to recover both healthy and corrupted EDB files. It allows you to migrate mailboxes directly from EDB files to a Live Exchange Server or export them to Outlook PST. Fully compatible with Exchange versions 2019, 2016, 2013, 2010, and 2007, EdbMails is especially useful when an Exchange database in Clean Shutdown fails to mount. The steps below outline the mailbox migration process using this tool.
Step 1: Download and install EdbMails Exchange recovery tool
- Download and install EdbMails on any Windows system, even if Exchange Server isn’t installed.
- Launch the application and log in with your registered email ID and password. If you're new to EdbMails, click on ‘Start Your Free Trial’ to activate the demo version and explore its full range of features.
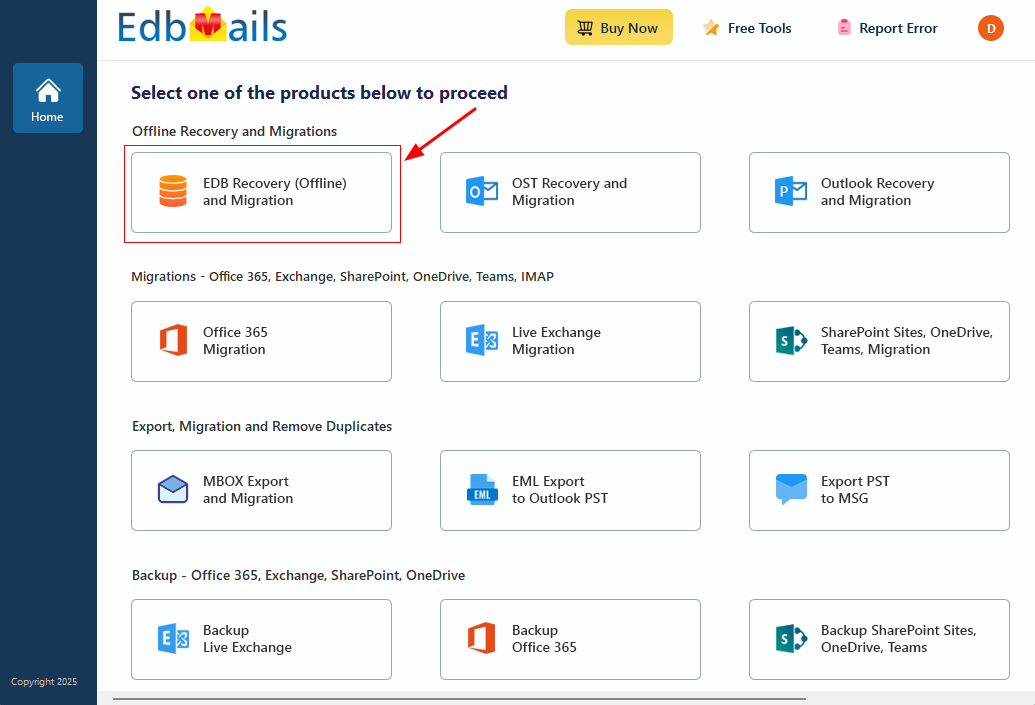
- Select ‘EDB Recovery (Offline) and Migration’ from the list of available products to proceed.
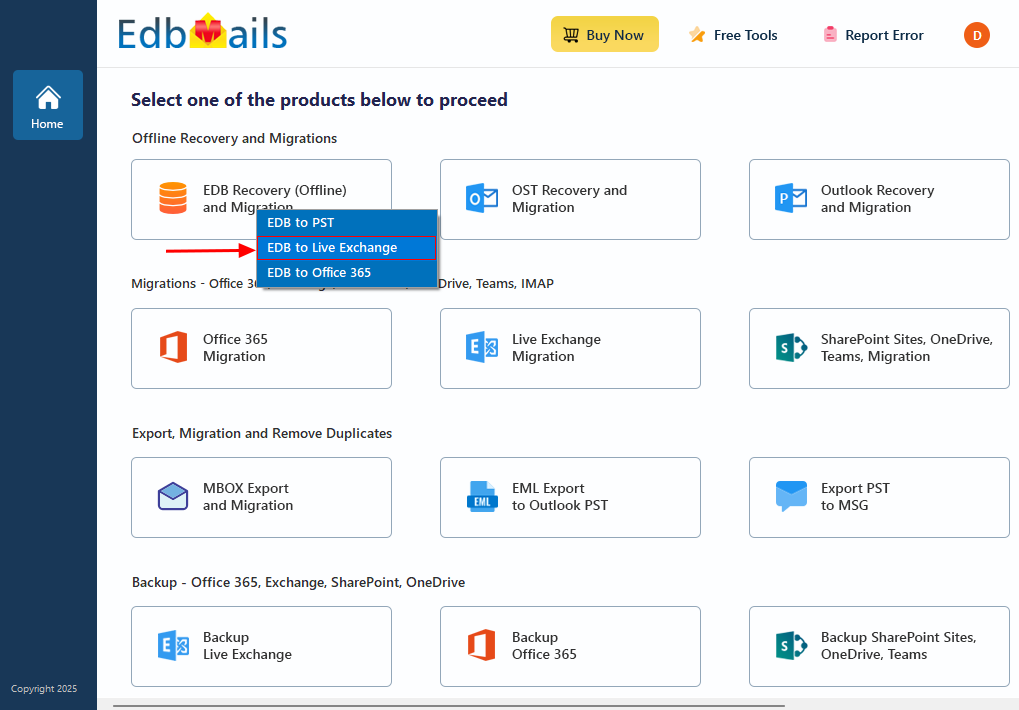
- Select the recovery method as 'EDB to Live Exchange'.
- You can keep the default job name or create a custom one by selecting ‘New Job’, which helps you easily identify and manage tasks later.
Step 2: Select the EDB file in Clean shutdown that fails to mount
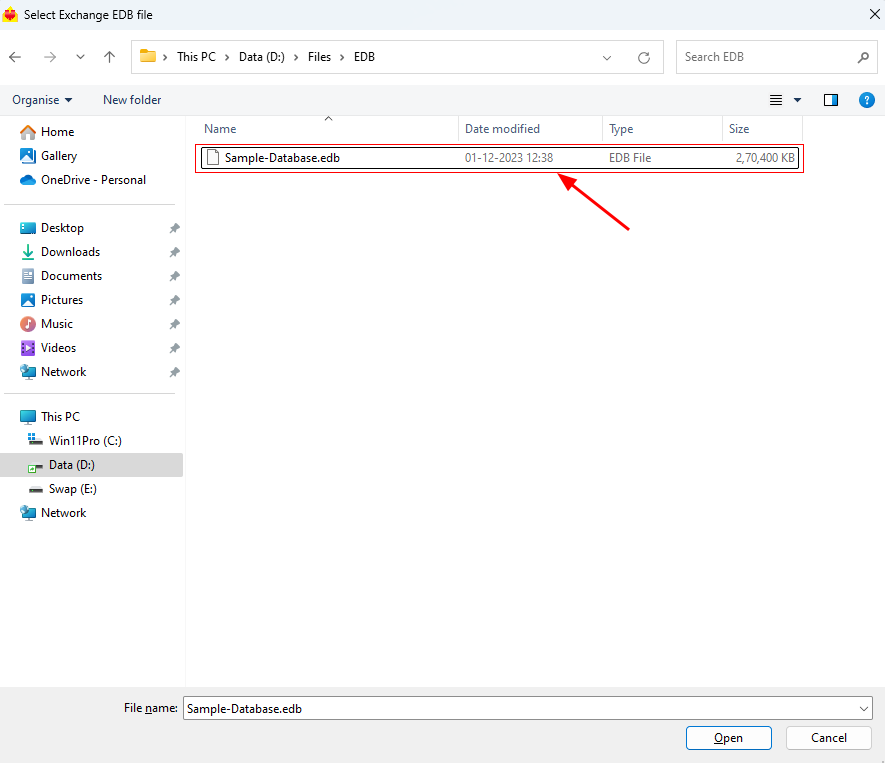
- Click the ‘Browse for EDB file’ button.
- Select the offline and dismounted Exchange database file that you want to recover.
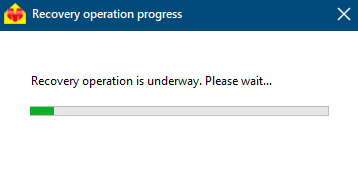
- EdbMails conducts an in-depth scan of the EDB file, recovering mailbox data even from corrupted or damaged files, ensuring that no data is lost during the recovery.
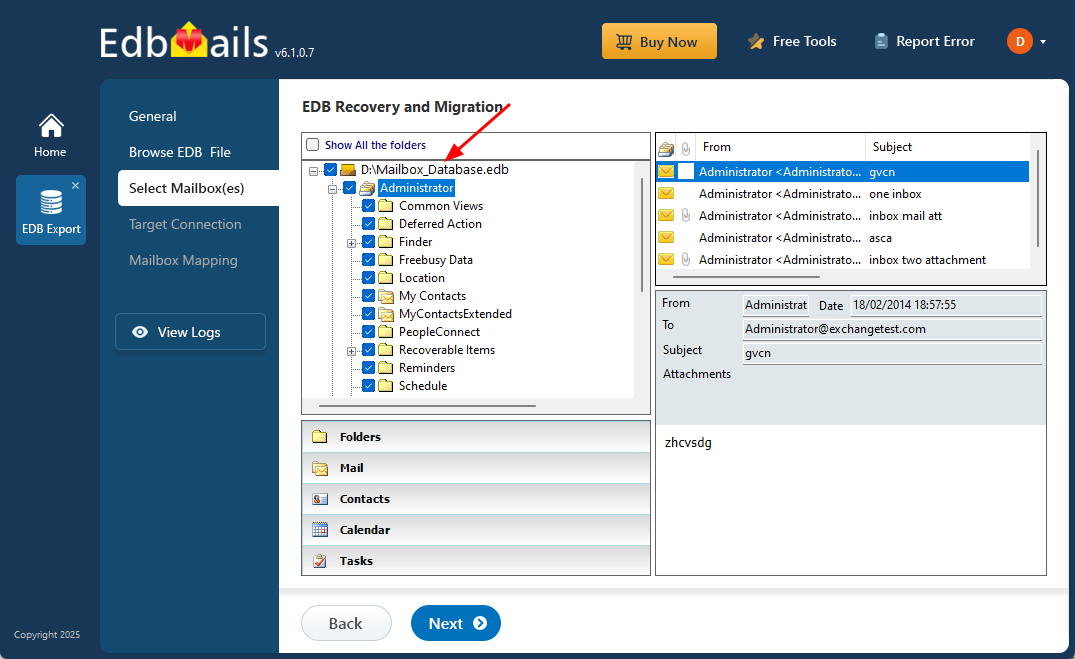
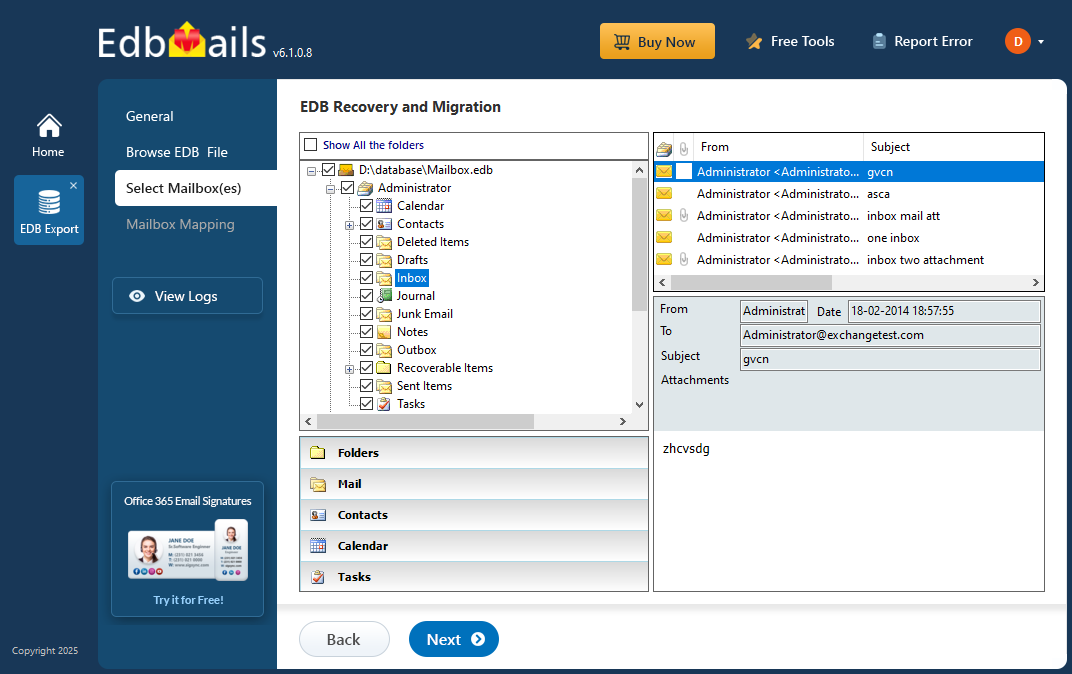
- After the recovery is complete, expand the mailbox and click on any folder to preview its contents, such as emails, contacts, calendars, tasks, journals, and notes, in the right-hand pane.
- Choose the specific mailboxes or folders you want to export, then click ‘Next’ to proceed with the export.
- EdbMails enables you to apply filters to customize your migration process. For example, you can use date filters to migrate items within a specific date range.
- EdbMails provides extra export options, such as splitting a PST file into smaller segments and excluding emails that exceed a set size limit, giving you greater control over the migration process.
Step 3: Connect to target Exchange server
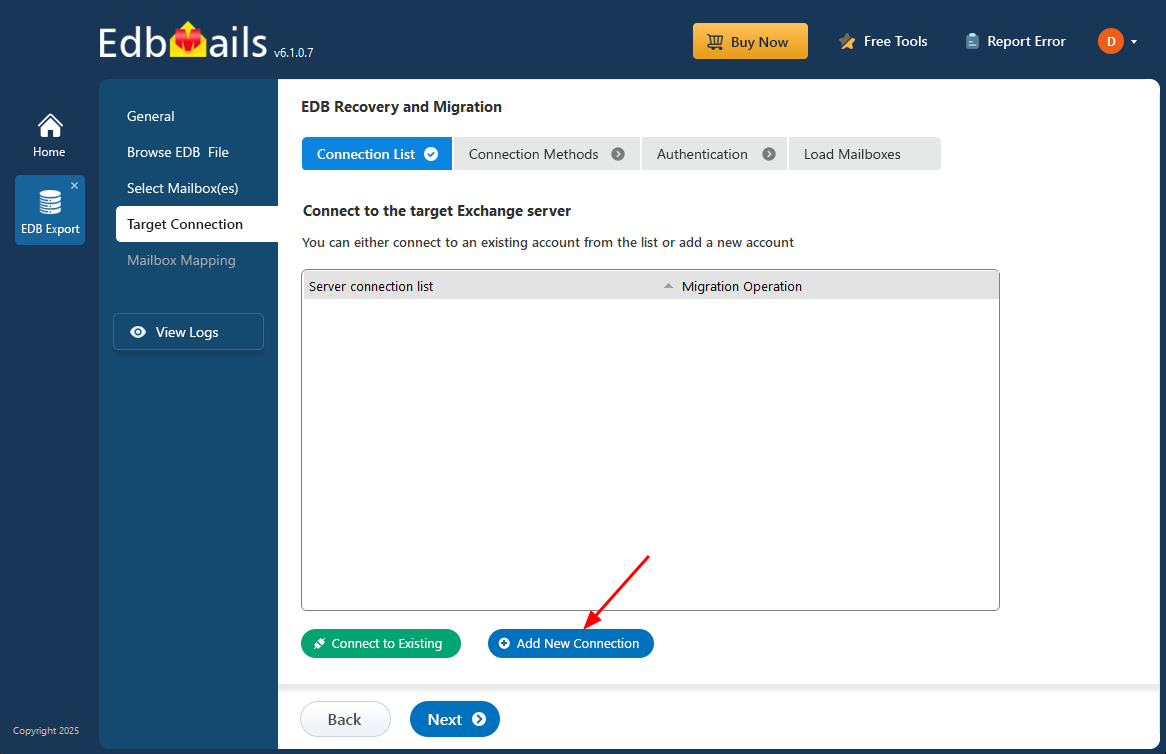
- Click on the ‘Add New Connection’ button to establish a connection with the target Exchange server. If a connection has already been set up, just select it from the list and click ‘Connect to Existing’ to proceed.
- Choose the appropriate connection options and click the ‘Next’ button.
Different options to connect to Exchange server in EdbMails.
- Provide the necessary target Exchange server details and click the ‘Login’ button to proceed.
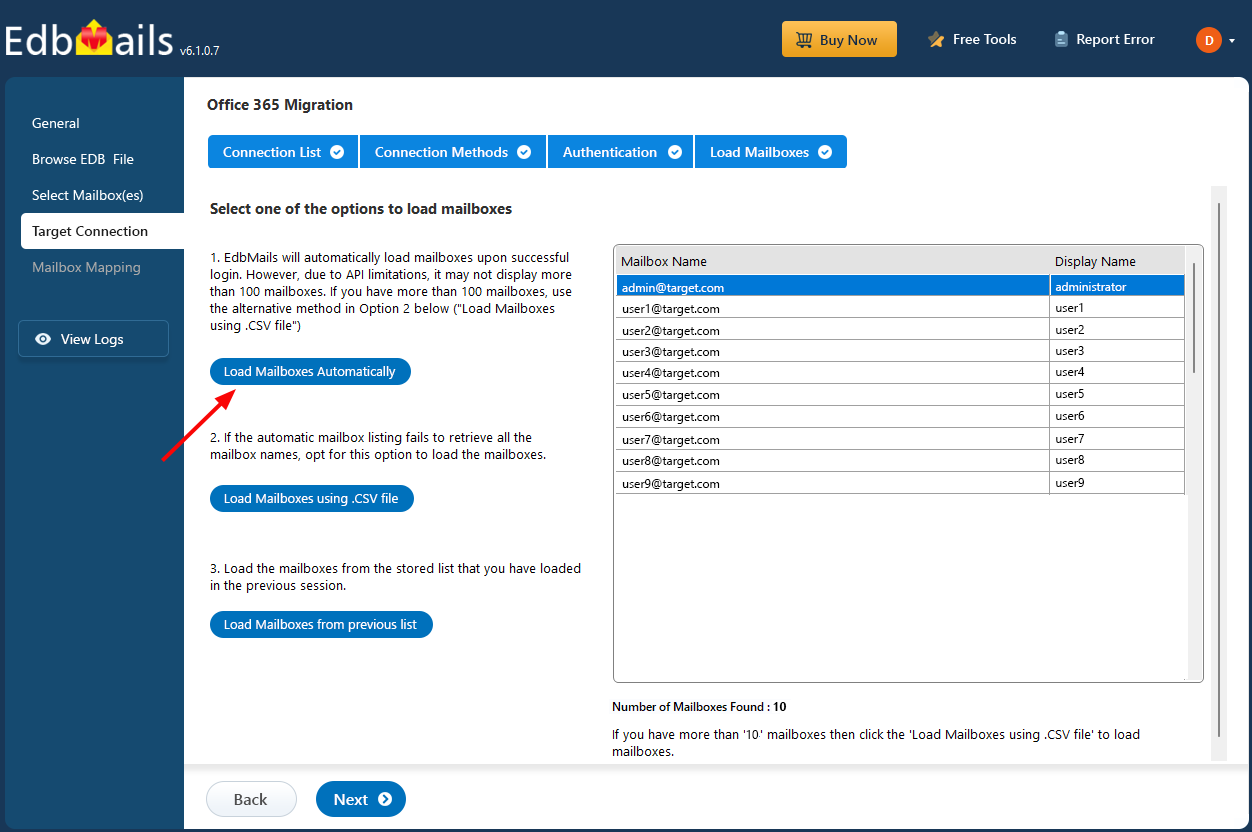
- By default, EdbMails loads up to 100 mailboxes directly from the target Exchange server, in accordance with Microsoft’s API limit. If you need to load more than 100 mailboxes, you can do so by importing a CSV file containing a list of additional mailboxes. Select your preferred method to load the mailboxes into EdbMails.
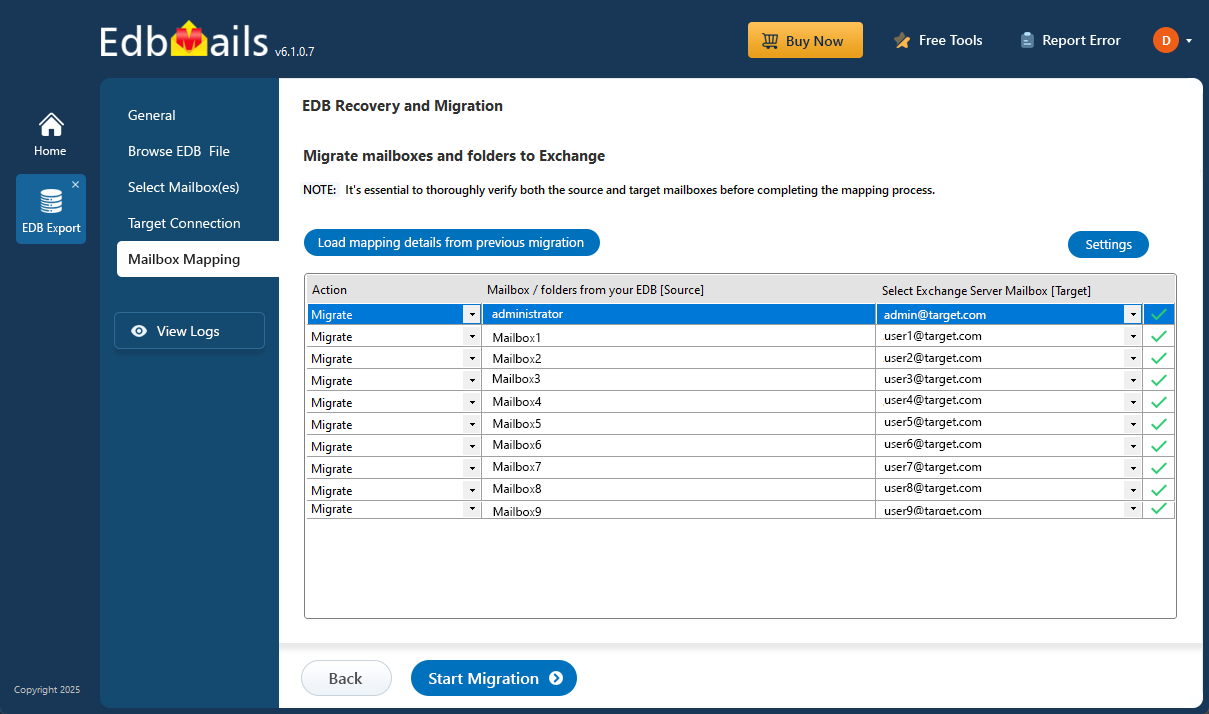
Step 4: Map source and target mailboxes
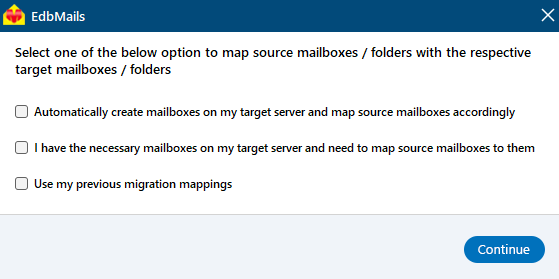
- Select the appropriate mailbox mapping option based on your needs.
- EdbMails offers the option to automatically create mailboxes on the target Exchange server, especially when the application is installed directly on that server. It also performs automatic mailbox mapping by matching the display names between the source and target servers. If needed, you can manually map mailboxes and folders to tailor the migration process to your specific needs.
Step 5: Start EDB to live Exchange migration
- Once the mailbox mapping is finished, click the ‘Start Migration’ button to perform Exchange Migration to the target server.
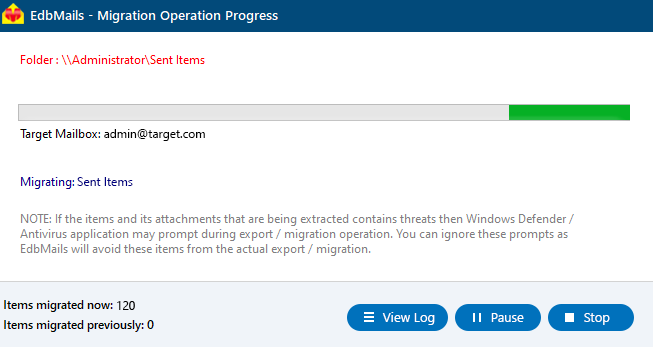
- You can monitor the migration progress in real-time using the progress bar. Once the migration is complete, a confirmation message will be displayed.
- With this method, you can safely recover a dismounted EDB file and migrate all your mailboxes from EDB to Exchange server.
You can also directly migrate the EDB to Office 365 or export Exchange mailboxes to PST format.
See the steps if you want to export Exchange mailboxes to PST format.
Conclusion
When an Exchange database in Clean Shutdown fails to mount, it is typically caused by issues like insufficient storage space or problems with database indexing. To resolve this, you can restart the Exchange server services or reindex the database. If the server is part of a Database Availability Group (DAG), check the cluster status and ensure all nodes are online, rebooting the Exchange server if necessary. If these steps don’t fix the issue, you can turn to EdbMails Exchange recovery tool. This tool allows you to recover data from a clean EDB file, migrate mailboxes directly to another Exchange server, and even convert the EDB file to PST format for Outlook import.

