EDB Public folder to Office 365 migration guide
Migrating public folders from an Exchange offline EDB file to Office 365 is made easy with EdbMails EDB to Office 365 Migrator. This Microsoft-partnered migration tool simplifies the entire process, allowing you to transfer your public folder data to Office 365 in just a few easy steps, with minimal effort required.
EdbMails leverages secure OAuth 2.0 authentication, ensuring that your migration process is safe and reliable. The tool offers incremental migration, meaning only newly modified data is transferred, significantly reducing system load and speeding up the process during subsequent migration operations. Additionally, EdbMails ensures high-performance migration, capable of handling large amounts of data with optimal speed.
With zero downtime during the migration, you can continue your daily operations without disruption. EdbMails also preserves the integrity of your folder structures, permissions, and all associated data, providing a smooth and secure transition to Office 365. Whether you're migrating public folders or other data, EdbMails guarantees a secure, high-performance migration with minimal impact on your productivity.
The following sections outline the migration prerequisites, a step-by-step guide, and the benefits of using EdbMails for migrating EDB public folders to Office 365.
Prerequisites to migrate EDB to Microsoft 365
Before you import the mailboxes from EDB to Office 365, you must prepare the target Office 365 server as described in the following section.
- Ensure that you meet the network and bandwidth requirements for the migration.
See network and migration planning, performance factors and best practices.
- Prepare your target Office 365 tenant. See tenant roadmap for Microsoft 365.
- Ensure that you create and configure the Public folder mailboxes on the target server.
Steps to Create Office 365 Public folder and assign admin permissions
- Configure Office 365 to send and receive large messages
- If you have a custom email domain from the source to which you want to receive emails after the migration, you must add and verify the custom domain on Office 365.
Steps to add a custom domain to Office 365 and steps to add DNS records to connect your domain.
- Ensure that you meet the network and bandwidth requirements for the migration.
Steps to migrate from EDB Public folder to Office 365 using EdbMails
Step 1: Download and Install the EdbMails application
- Download and install the EdbMails application on your computer running on Windows OS.
- Log in using your registered email address and password, or choose the 'Start Your Free Trial' option.
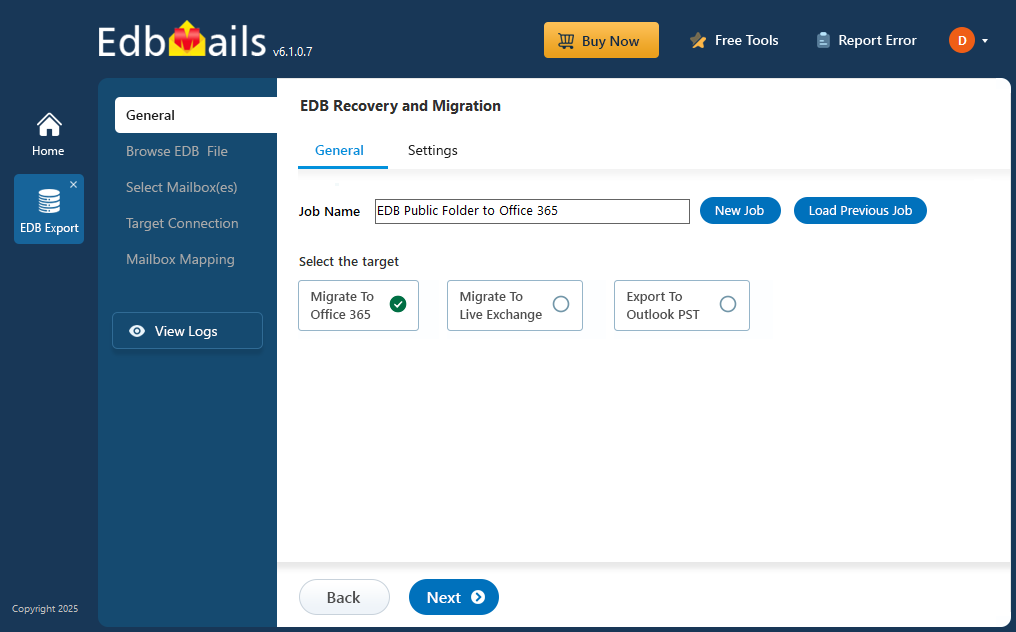
Step 2: Select EDB Recovery (Offline) and Migration
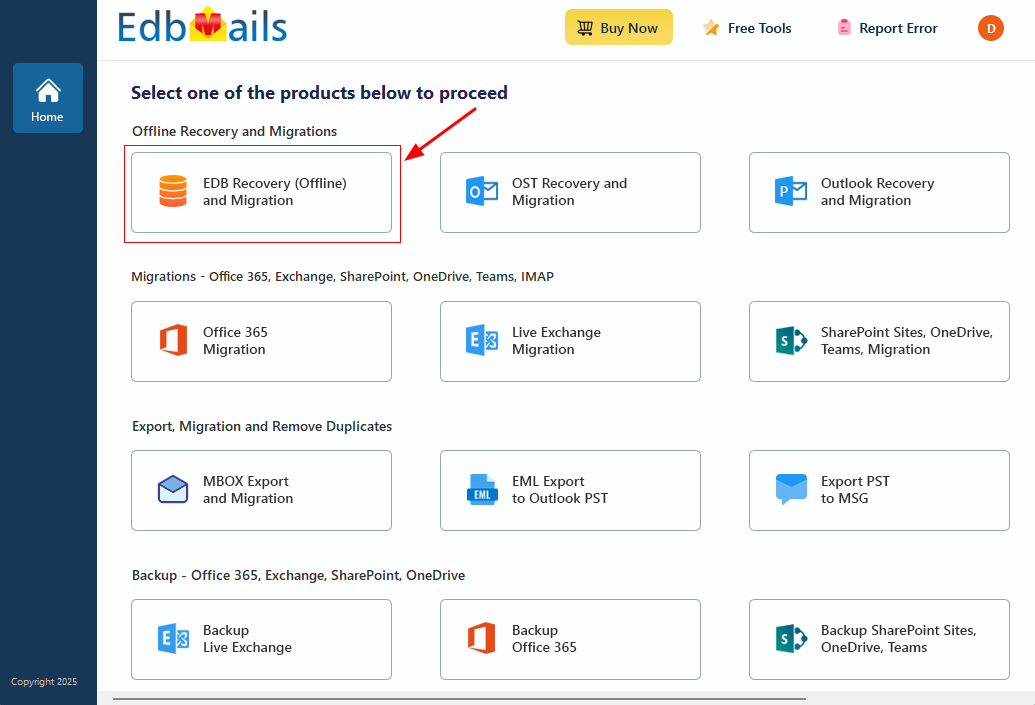
- Choose ‘EDB Recovery (Offline) and Migration’ option
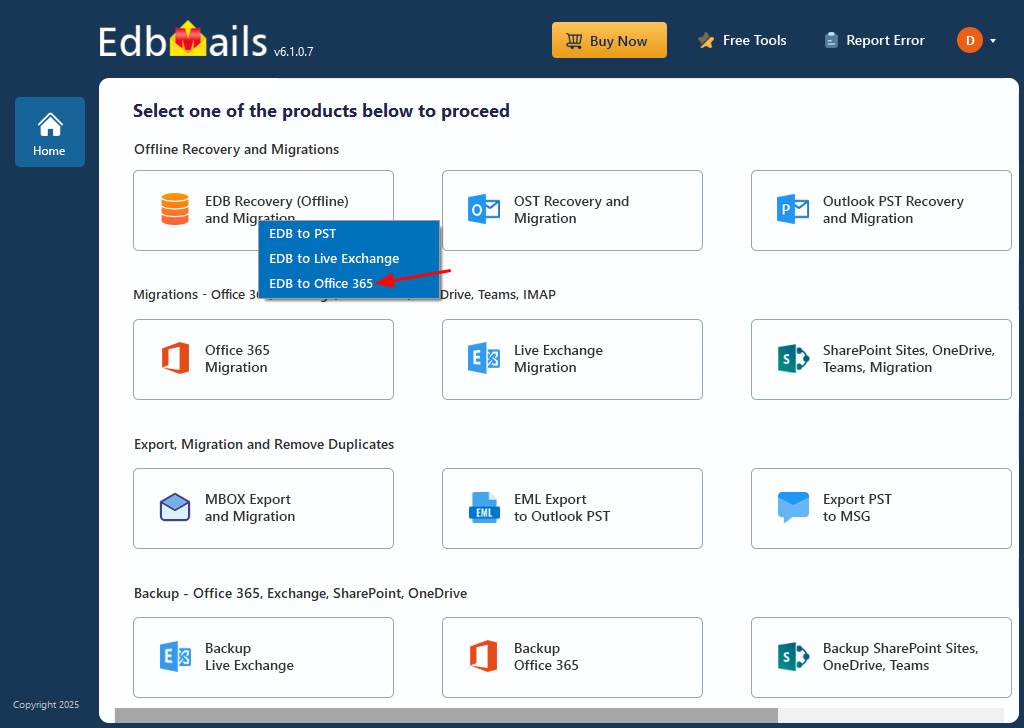
- Select ‘EDB to Office 365’ option
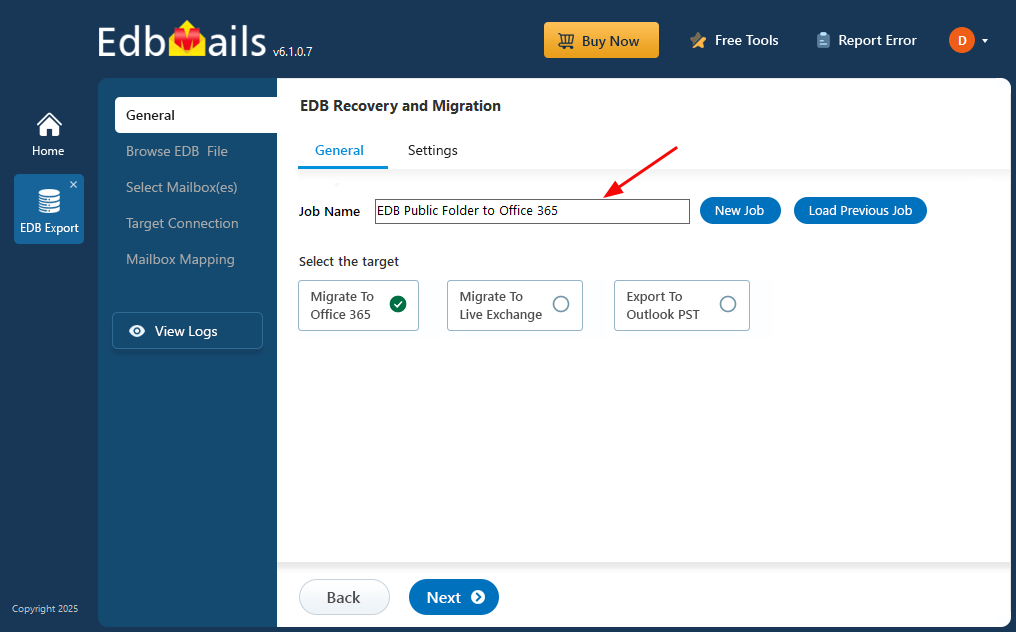
- You can either keep the default job name or click the ‘New Job’ button to specify a new name
Step 3: Browse EDB files
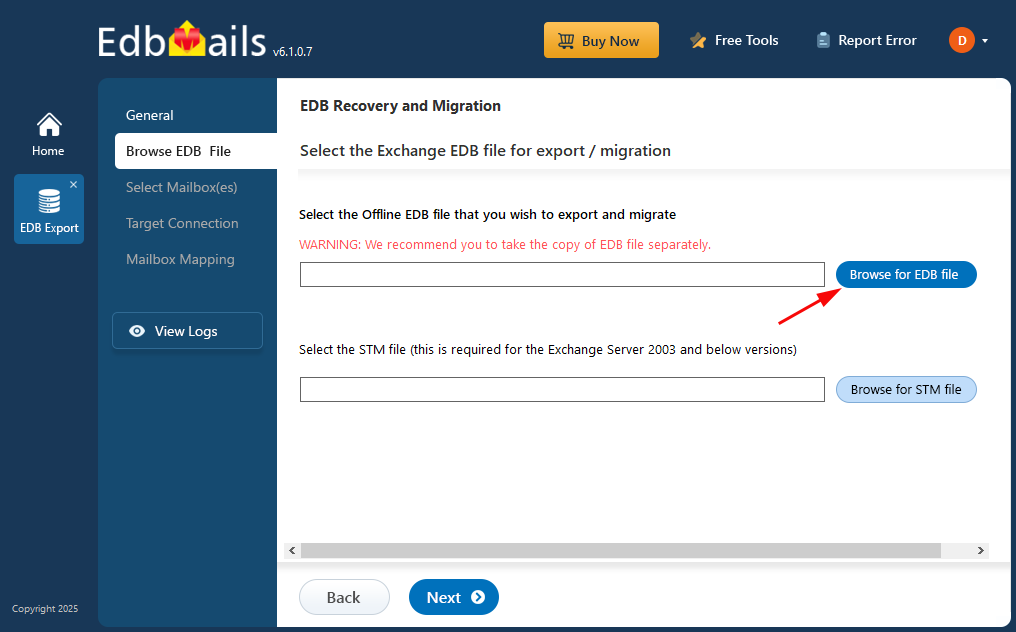
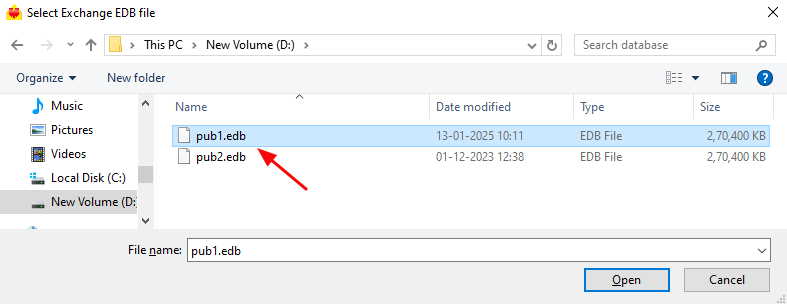
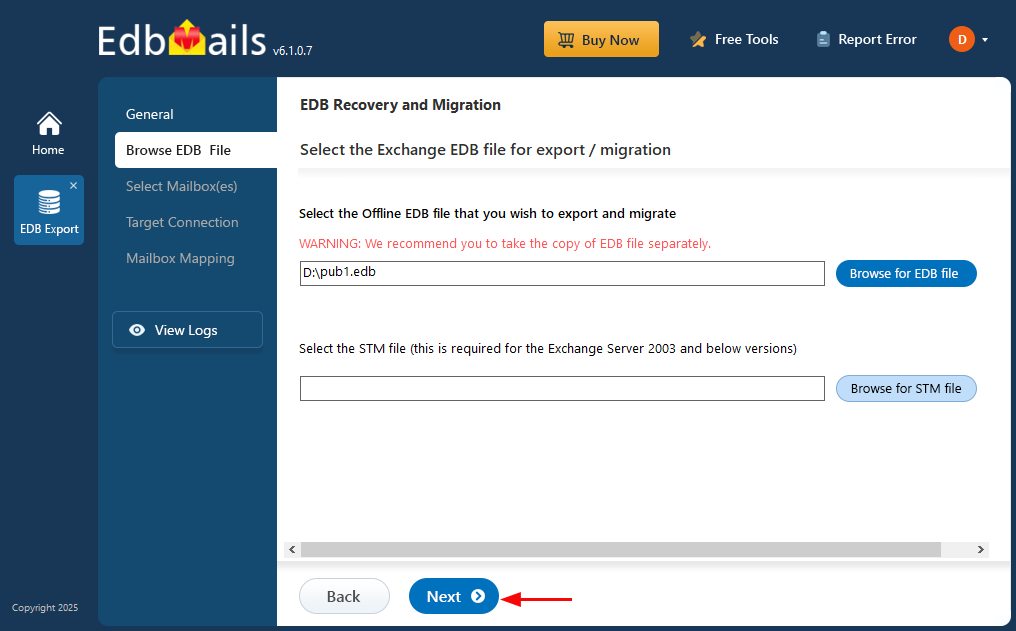
- Click the ‘Browse for EDB file’ button
- Choose the offline EDB file from your computer drive.
- Click ‘Next’ to continue
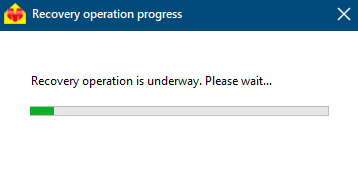
- EdbMails scans the EDB file and restores the data if there is any event of corruption.
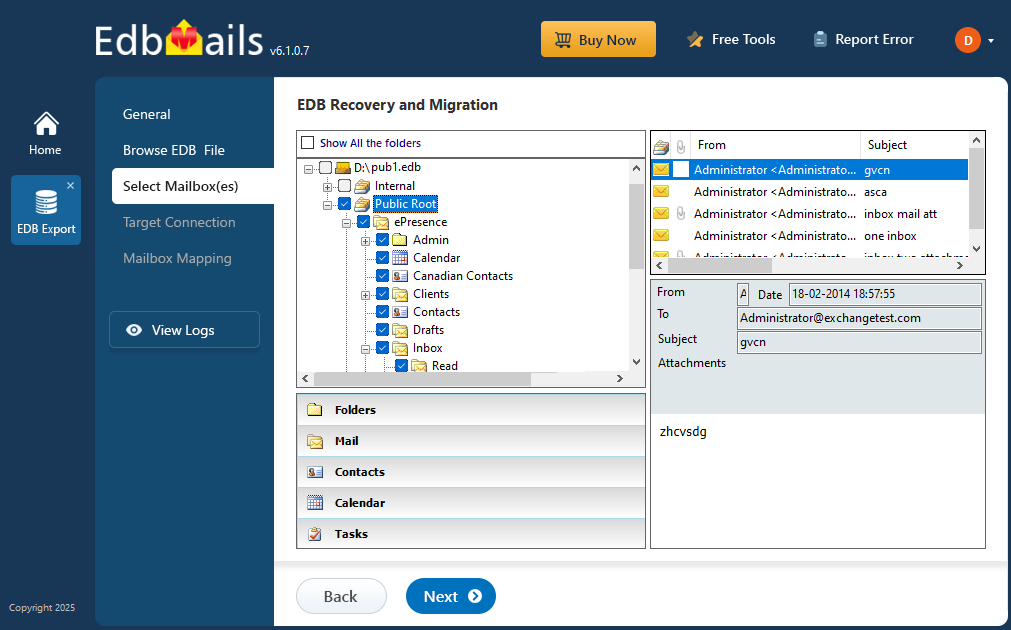
- Once recovery is complete, you can preview all mail items, including emails, contacts, folders, notes, tasks, and calendars, directly in the application's preview pane.
- Choose the required EDB public folders and click the 'Next' button to proceed.
Step 4: Connect to target Office 365 server
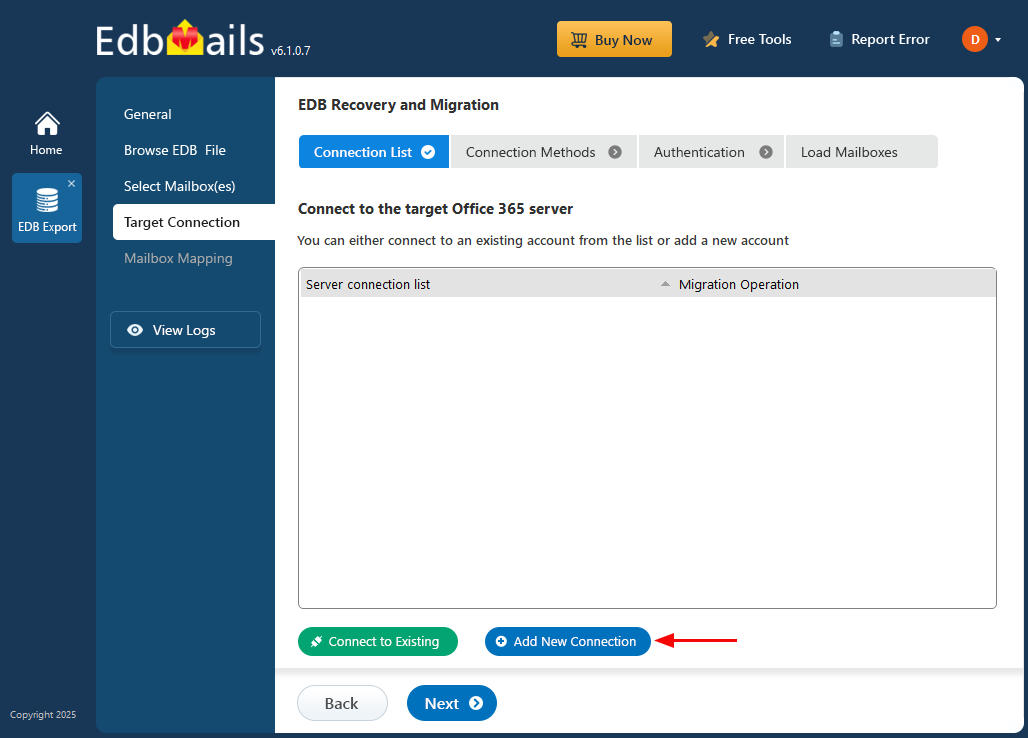
- To create a new connection to your target Office 365, click the 'Add New Connection' button. If you wish to use an existing connection, simply select it from the list and click the 'Connect to Existing' button to continue.
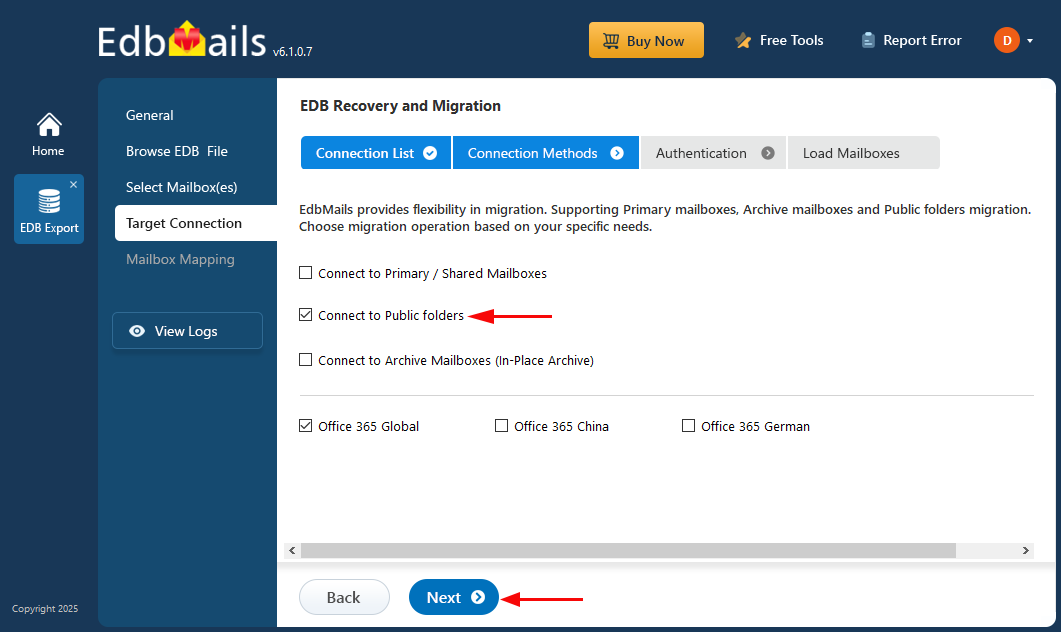
- Choose the desired connection options and click the ‘Next’ button to continue.
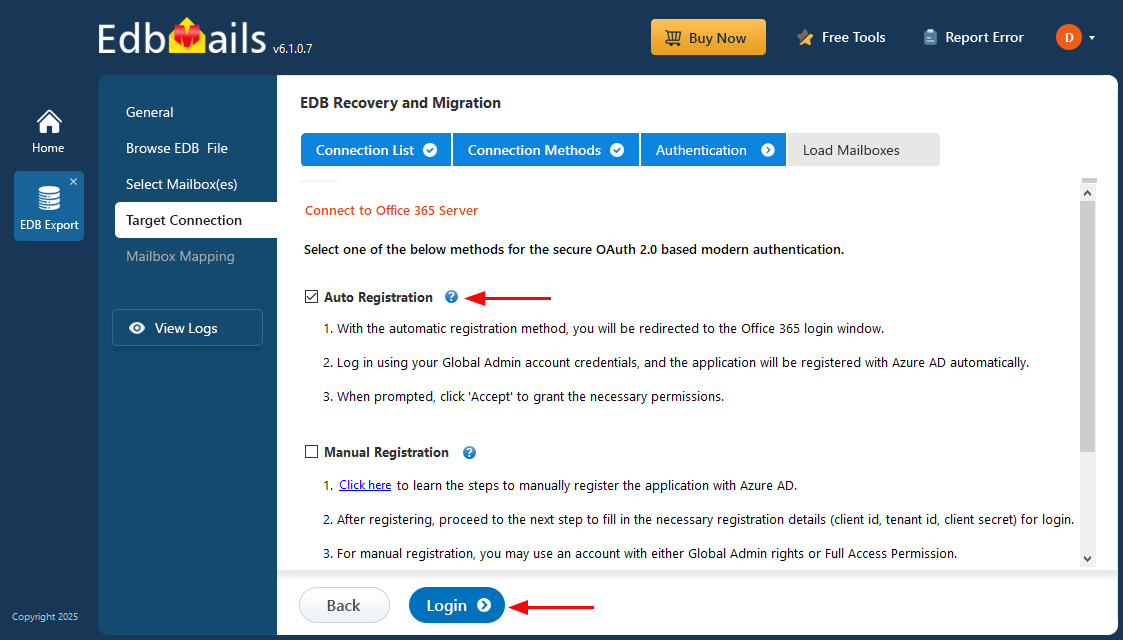
- Choose one of the authentication methods and click the ‘Login’ button to proceed.
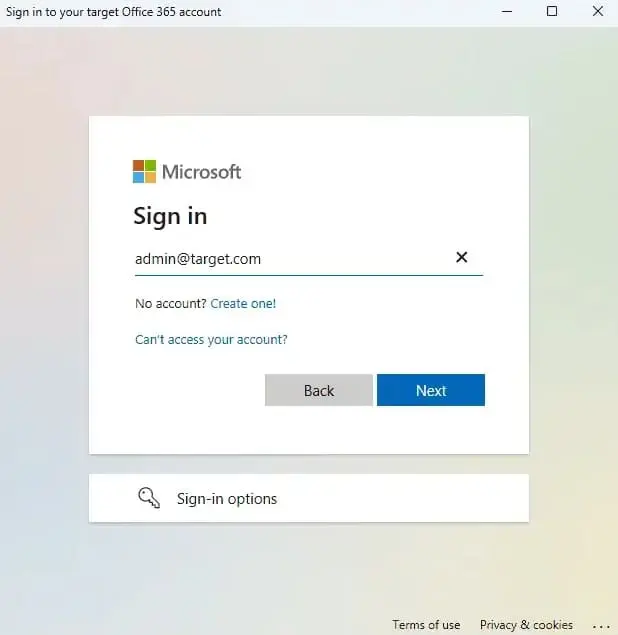
- Authenticate on Microsoft sign-in page.
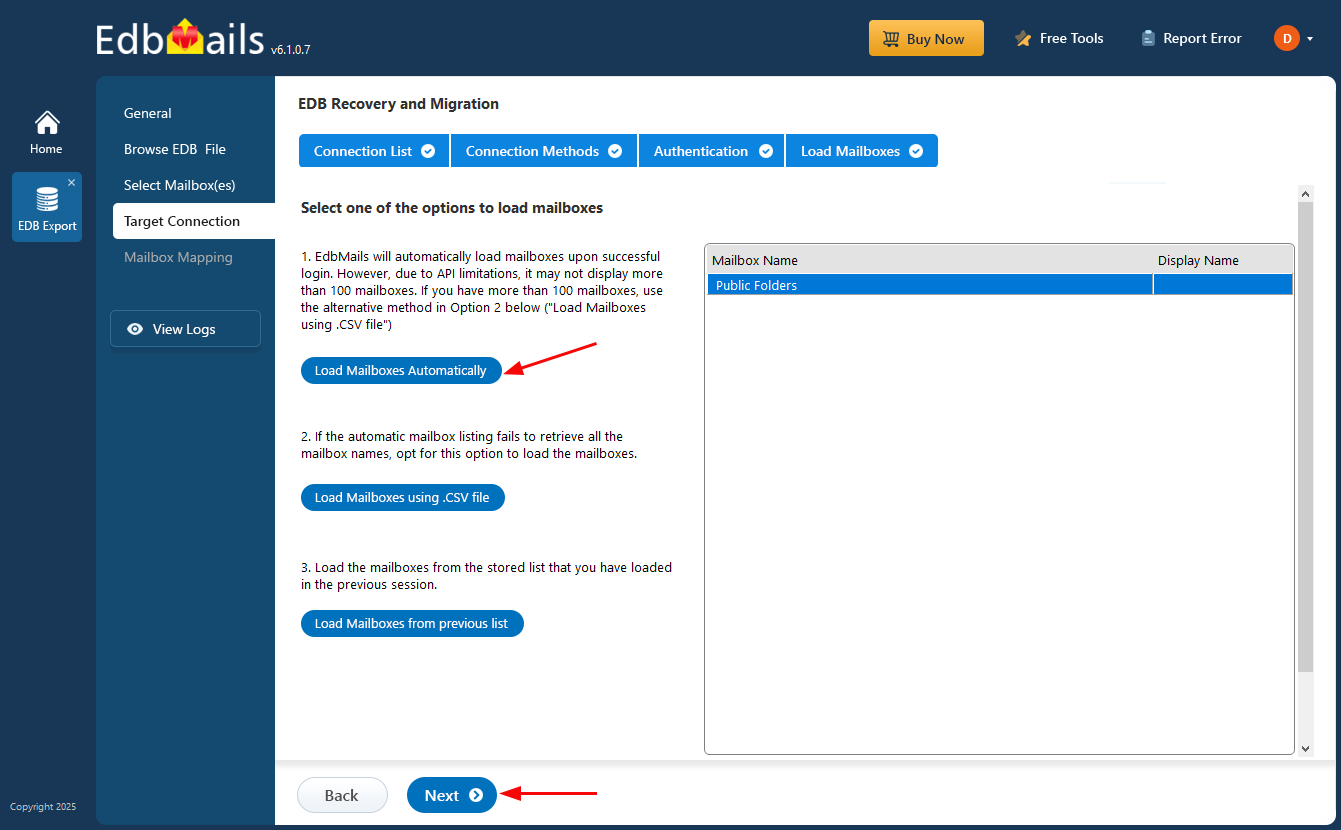
- Choose a method to load the mailboxes and click on ‘Next’.
Step 5: Map source and target Public folders
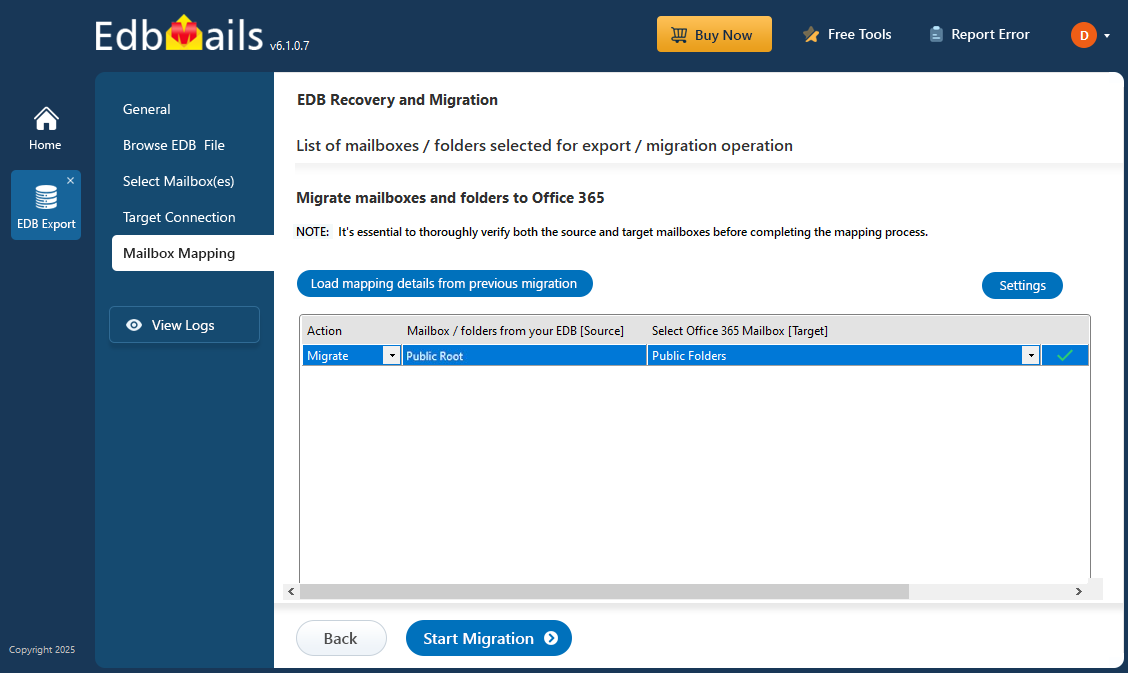
- EdbMails automatically maps the public folders between the source and the target server. You can also manually map the source public folders to the required target public folders.
Step 6: Start EDB Public folder to Office 365 migration
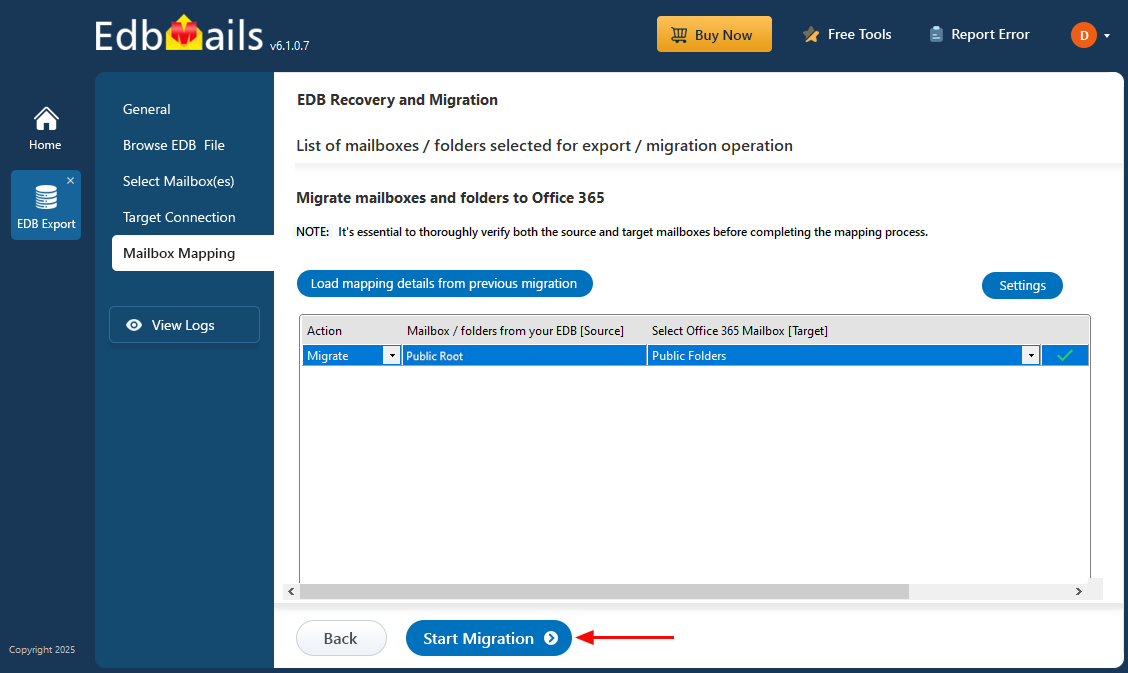
- Click the ‘Start Migration’ button to begin the migration process.
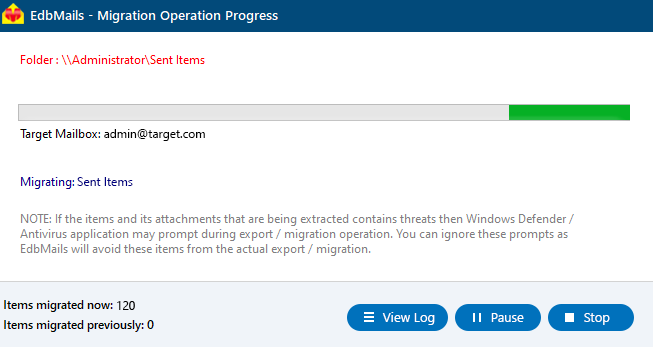
- That's it! During the migration, you can track the progress, with options to pause and resume the operation. A confirmation message will appear once the migration is complete.
- You can verify the migrated public folders and items using EdbMails' text-based migration log report.
- Simply log in to your target Office 365 server to verify the migrated items.
Benefits of EdbMails for Public folder migration to Office 365
- EdbMails recovers corrupted public folders from offline EDB file and allows you to directly migrate to Office 365.
- Single recovery and migration tool for both Exchange and Office 365.
- Migrate Public folder from EDB to Office 365 without size limitations.
- Compatible with all Windows Operating systems and EDB files from all Exchange servers (2003-2019).
- EdbMails does not store your credentials and it uses secure OAuth 2.0 modern authentication with TLS encryption.
- You can recover and migrate deleted email items from EDB to Office 365. More Features


