EDB Public folder to Exchange migration guide
Migrating EDB public folders to a live Exchange server is a vital task for organizations looking to restore or transfer essential data. EdbMails EDB to Exchange Migrator offers an effective solution for recovering and migrating Offline Exchange EDB public folders directly to a live Exchange environment. This tool supports the complete migration of all public folder data, including emails, contacts, notes, tasks, calendars, and more, ensuring all your information is transferred accurately.
EdbMails simplifies the migration process and supports a wide range of Exchange versions, including Exchange 2019, 2016, 2013, 2010, and 2007. The software ensures that your public folders, along with their folder structures and permissions, are preserved during the migration. This is crucial for maintaining the organization and integrity of your data as it moves to the new environment.
With EdbMails, you can migrate public folders to a live Exchange server with zero downtime. The tool ensures a smooth transfer while preserving folder structures and associated permissions, so your data is intact and fully accessible after the migration. Whether you are migrating a few public folders or large volumes of data, EdbMails handles the process efficiently, keeping your data organized and secure throughout the migration.
Prerequisites to migrate EDB Public folder to Exchange server
Before starting the migration process, it's important to make sure that Exchange Server 2013 is updated to at least Cumulative Update 15 (CU15) or a later version, and Exchange Server 2016 is on Cumulative Update 4 (CU4) or higher.
- For Exchange Server 2010, Service Pack 3, Release 3 or a higher version must be installed.
- Assign the Server Management role group in Exchange Server.
- Verify that the admin account on the source Exchange server has been assigned Application Impersonation permissions for the management role, and ensure that the mailboxes and related folders intended for import are included in the address lists.
- Grant admin access to all public folders on the source Exchange server.
Steps to assign admin permissions to source Exchange public folders
- Create a public folder on the target Exchange server and assign admin permissions.
Steps to migrate from EDB Public folder to Exchange server using EdbMails
Step 1: Download and Install the EdbMails application
- Download and install EdbMails on your computer running on Windows OS.
- Log in with your registered email and password, or select the 'Start Your Free Trial' option to get started.
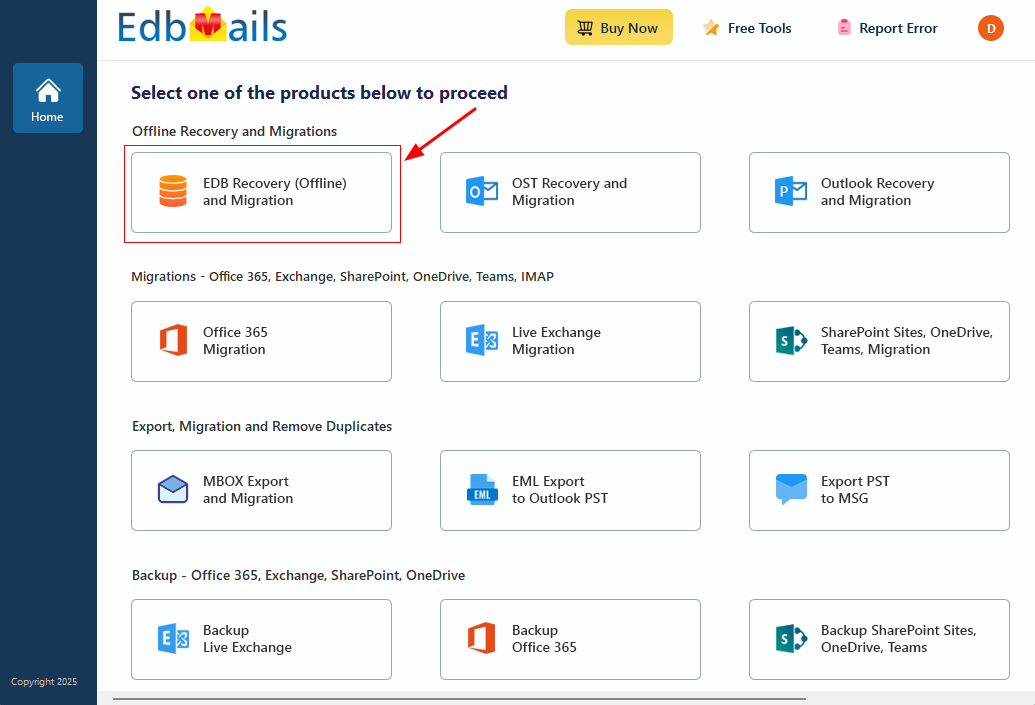
Step 2: Select EDB Recovery (Offline) and Migration
- Select ‘EDB Recovery (Offline) and Migration’ from the product list.
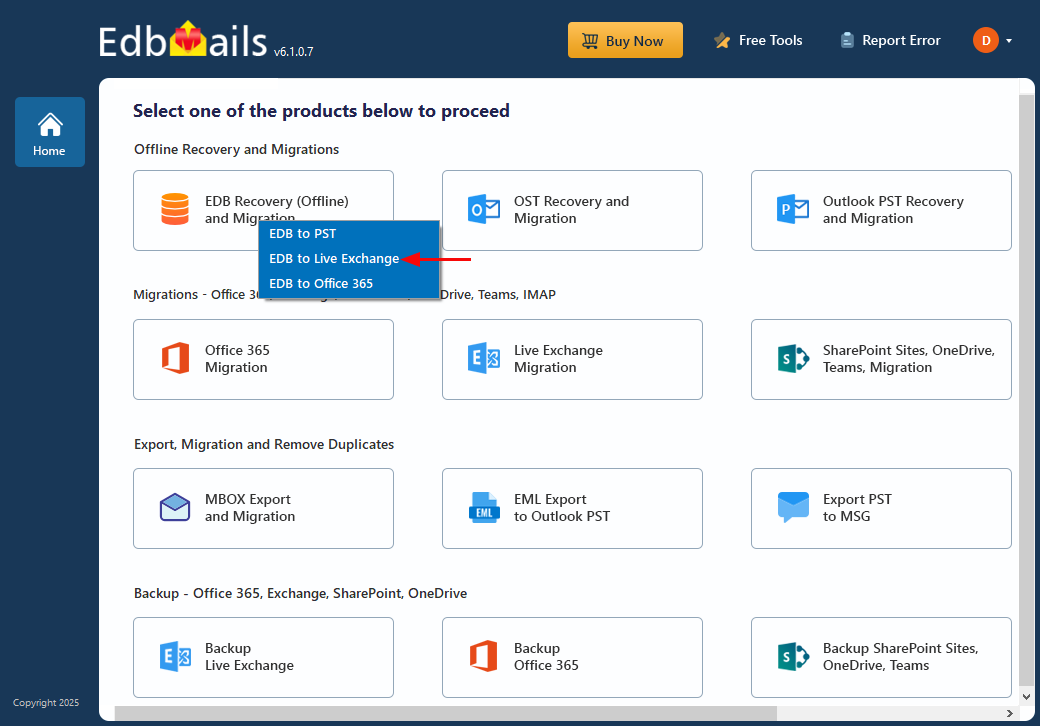
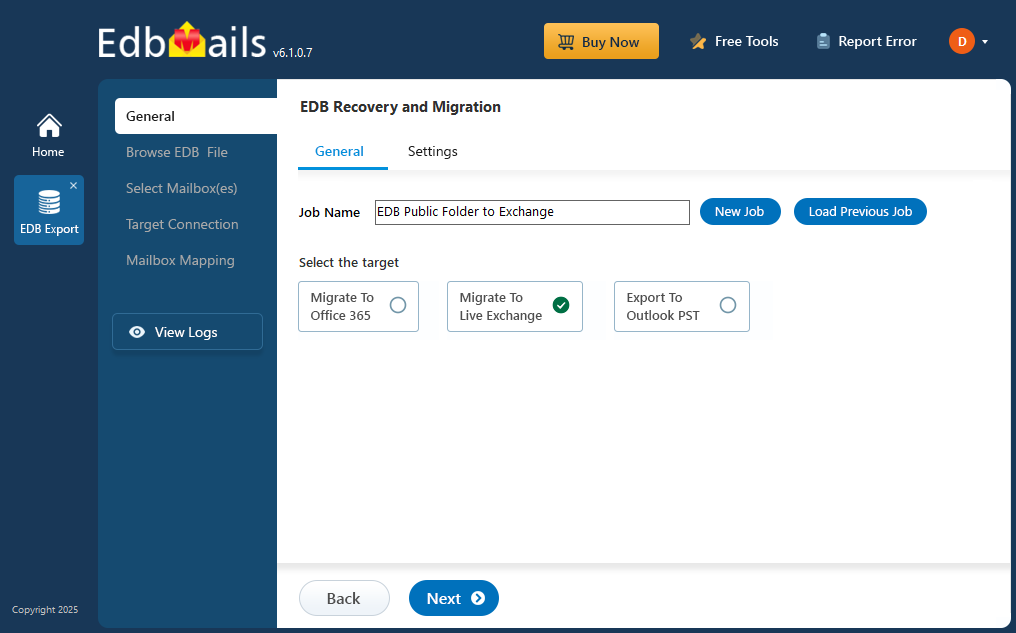
- Select the ‘EDB to Live Exchange’ option
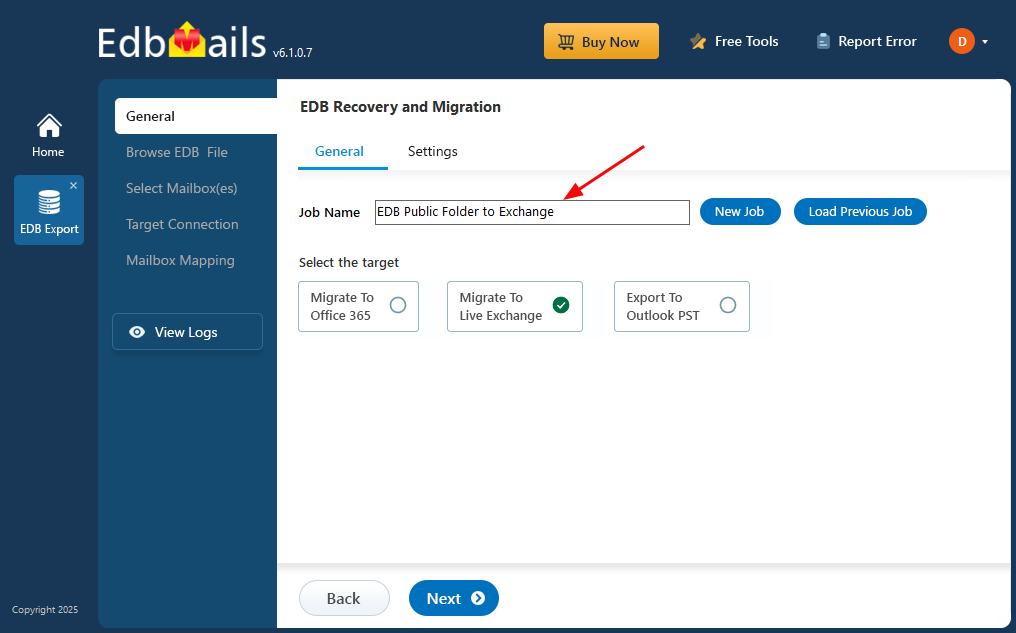
- You can either keep the default job name or click the 'New Job' button to change the job name.
Step 3: Select EDB files
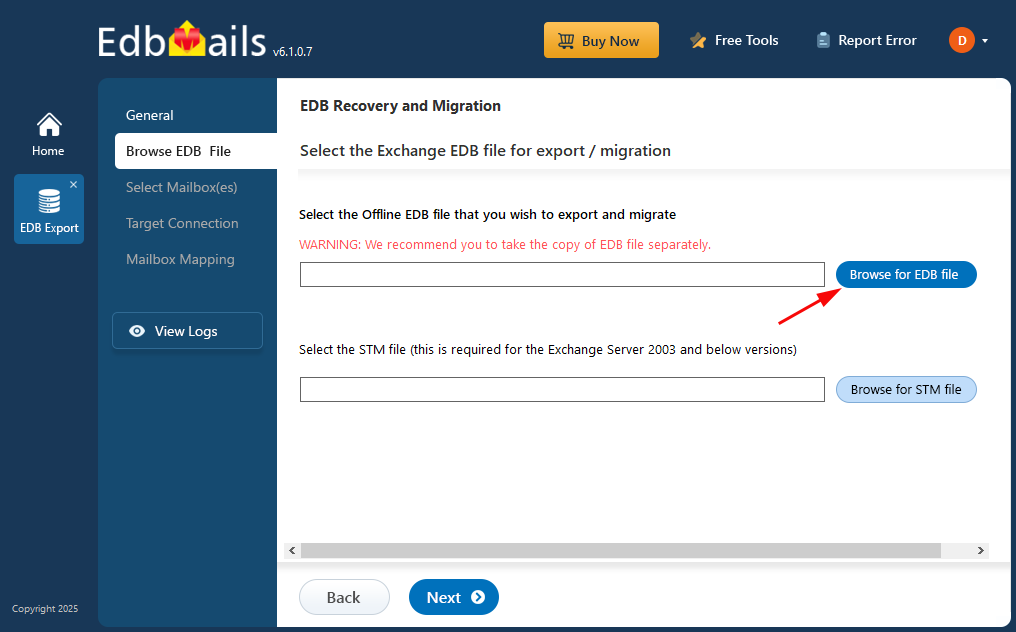
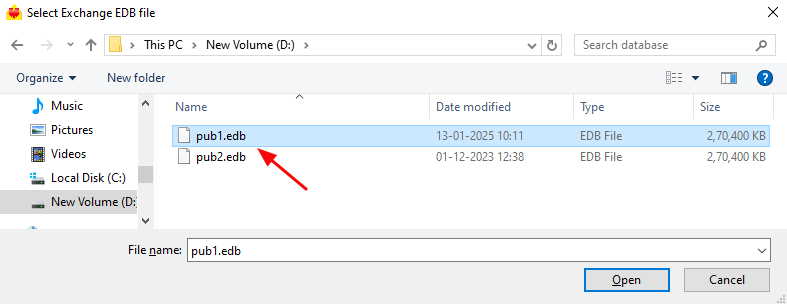
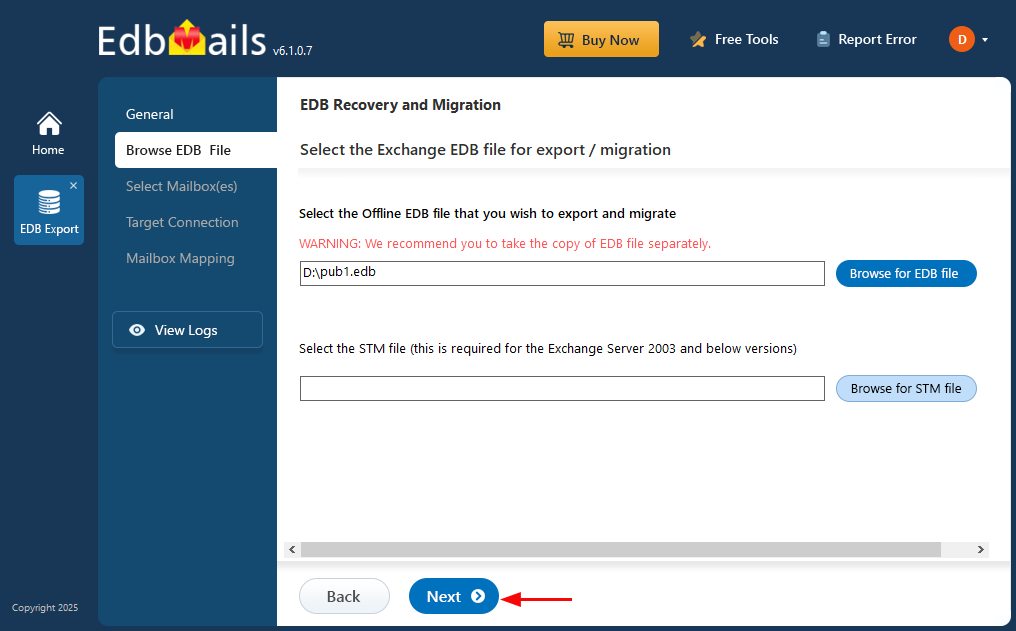
- Click on ‘Browse for EDB file’ button
- Choose the offline EDB file containing the public folder from your computer’s drive, or access the file from a shared network with read and write permissions enabled.
- Click ‘Next’ to continue
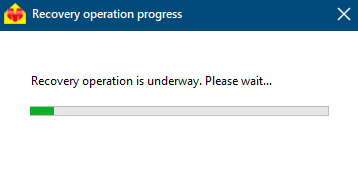
- EdbMails scans the public folders in your EDB file and recovers the data if any corruption is detected.
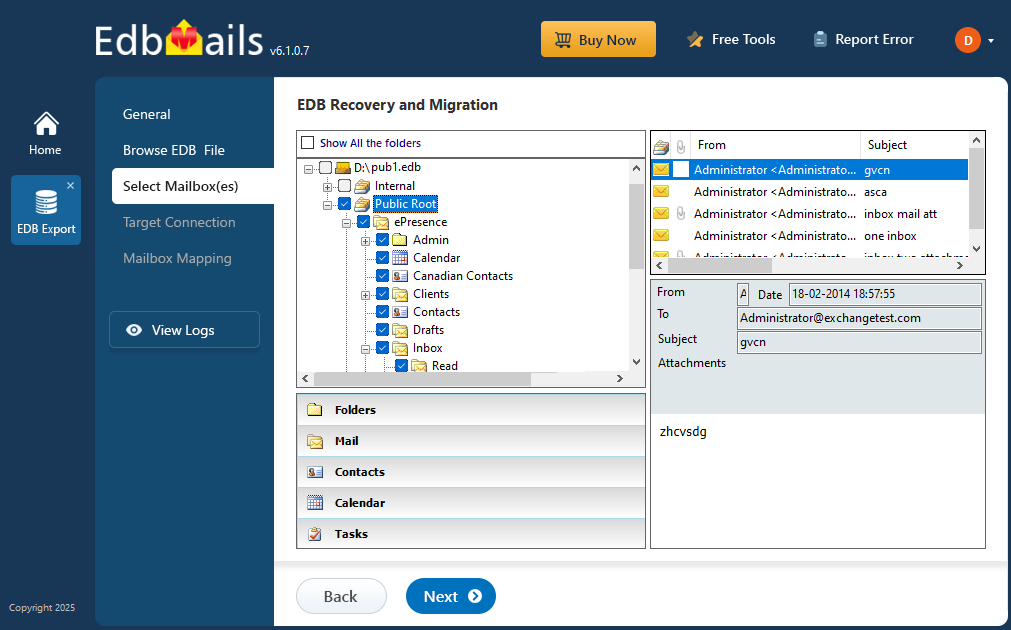
- Once the recovery process is finished, you can easily preview all your mail items, including emails, contacts, folders, notes, tasks, and calendars, directly within the application's preview pane.
- Select the EDB public folders you want to migrate and click the 'Next' button to proceed.
Step 4: Connect to target Exchange server
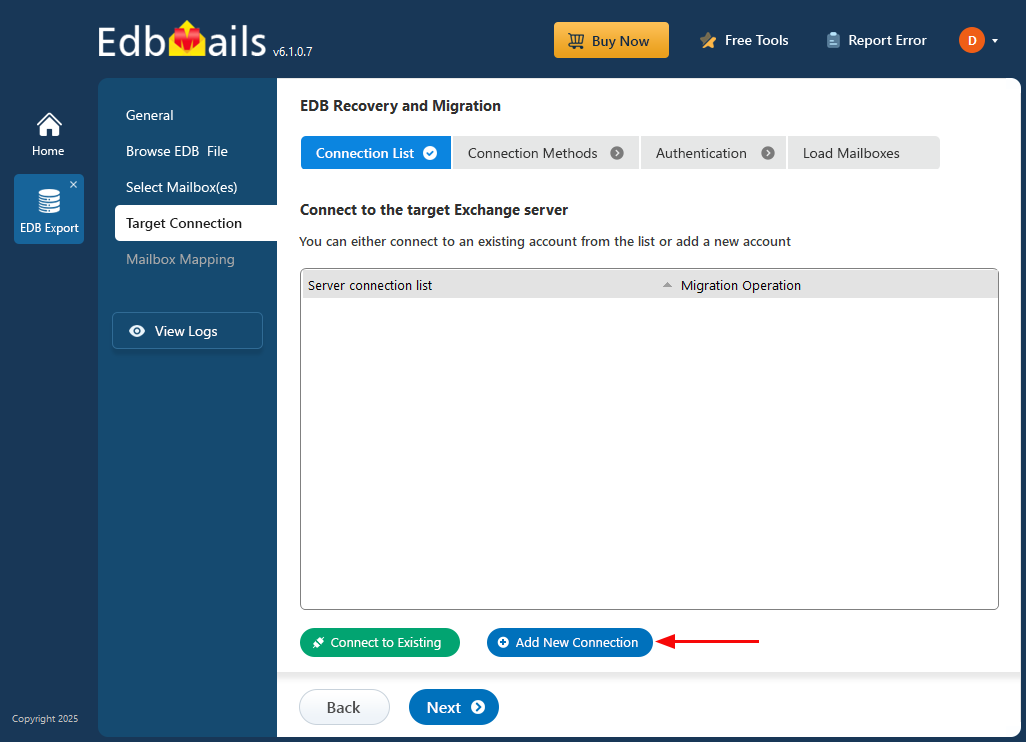
- Click the 'Add New Connection' button to set up a connection to your target Exchange server. If you'd like to use a previously established connection, simply select it from the list and click 'Connect to Existing' to continue.
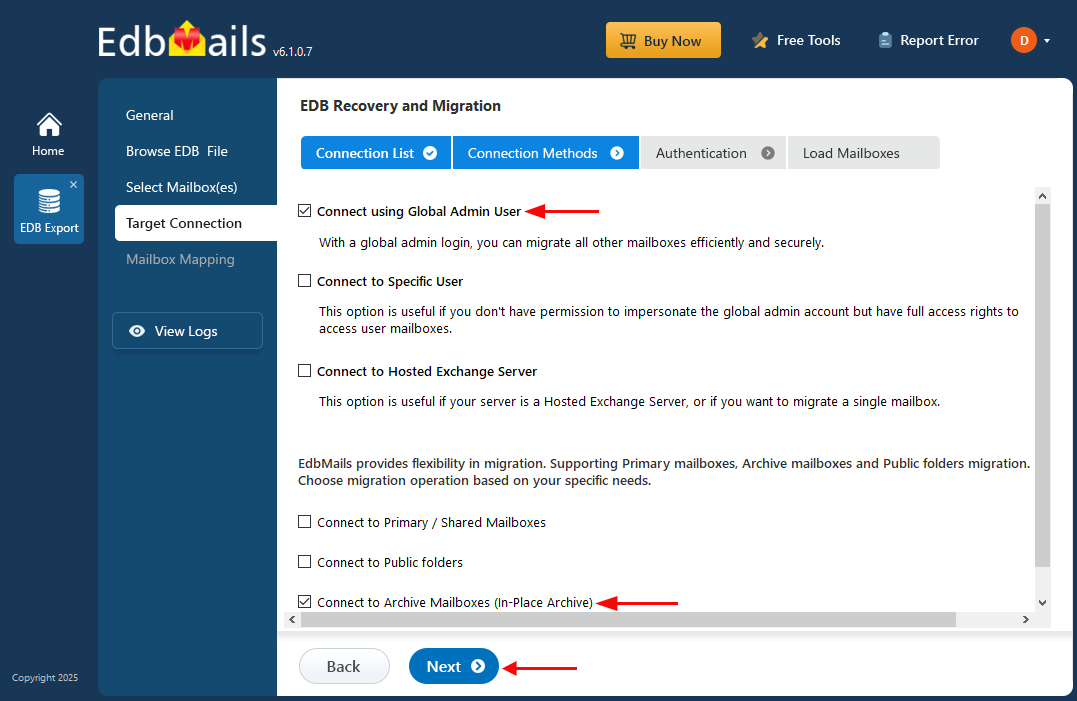
- Select your preferred connection options and click the ‘Next’ button to proceed.
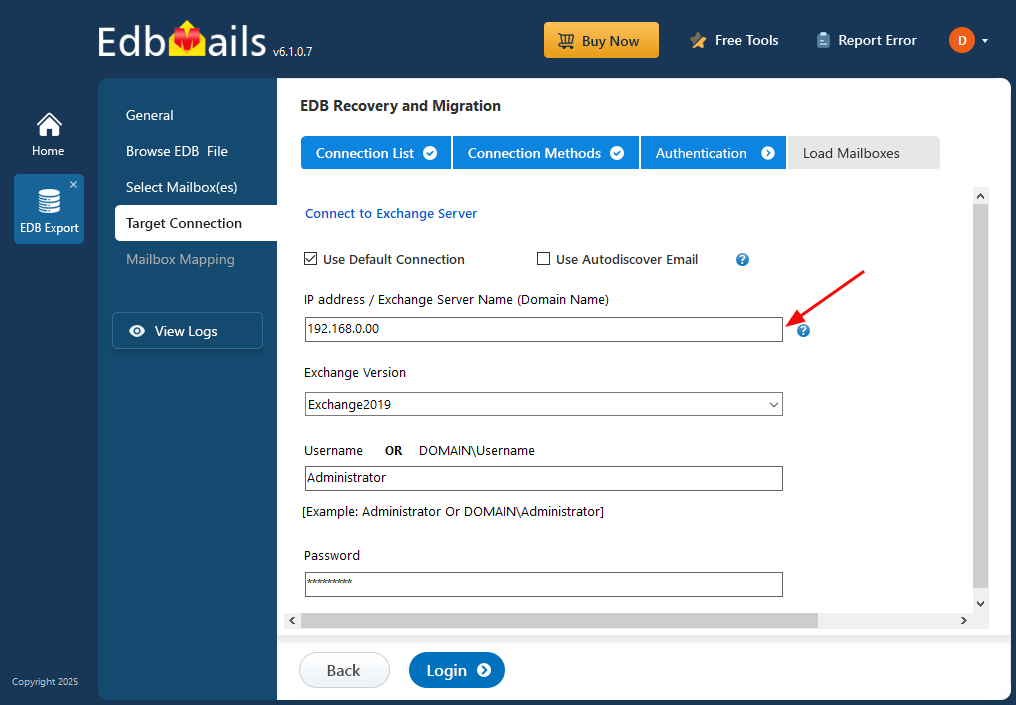
- Enter the details of your target Exchange server and click the 'Login' button to proceed.
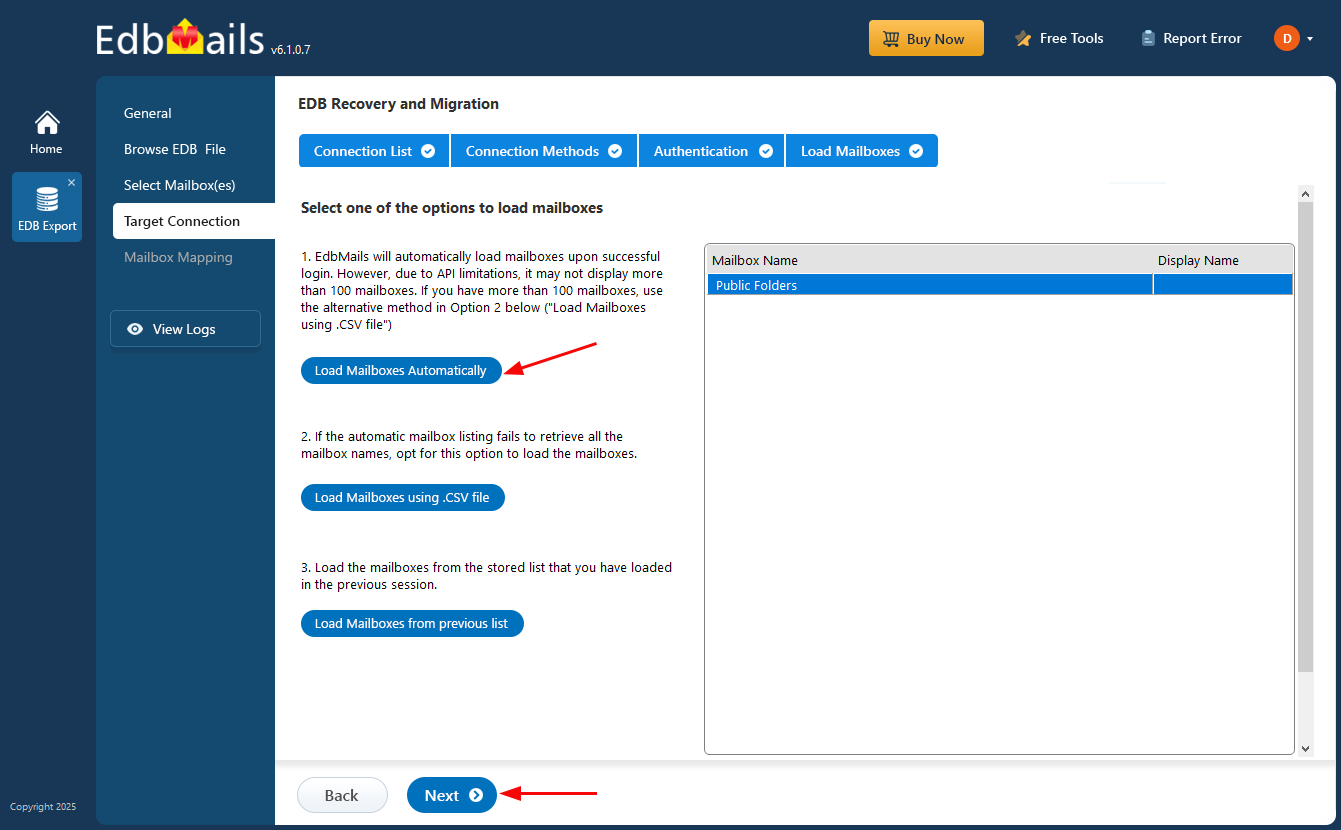
- Select a method to load the mailboxes and click ‘Next’
Step 5: Map source and target Public folders
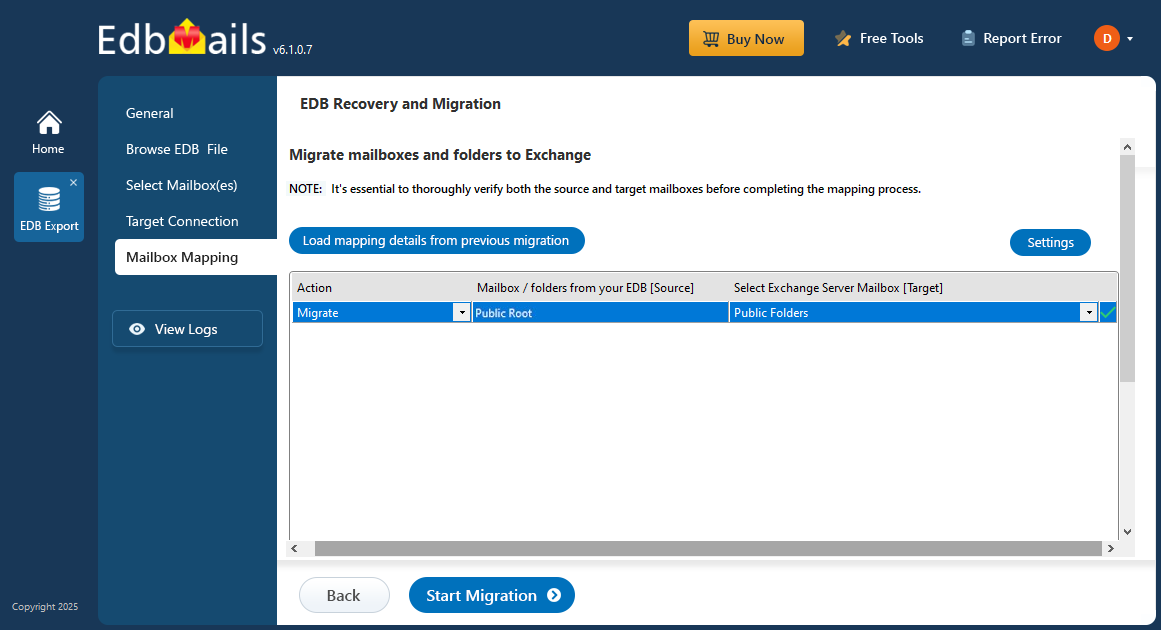
- EdbMails automatically maps the public folders from the source to the target server. Alternatively, you can manually choose and map the target public folder.
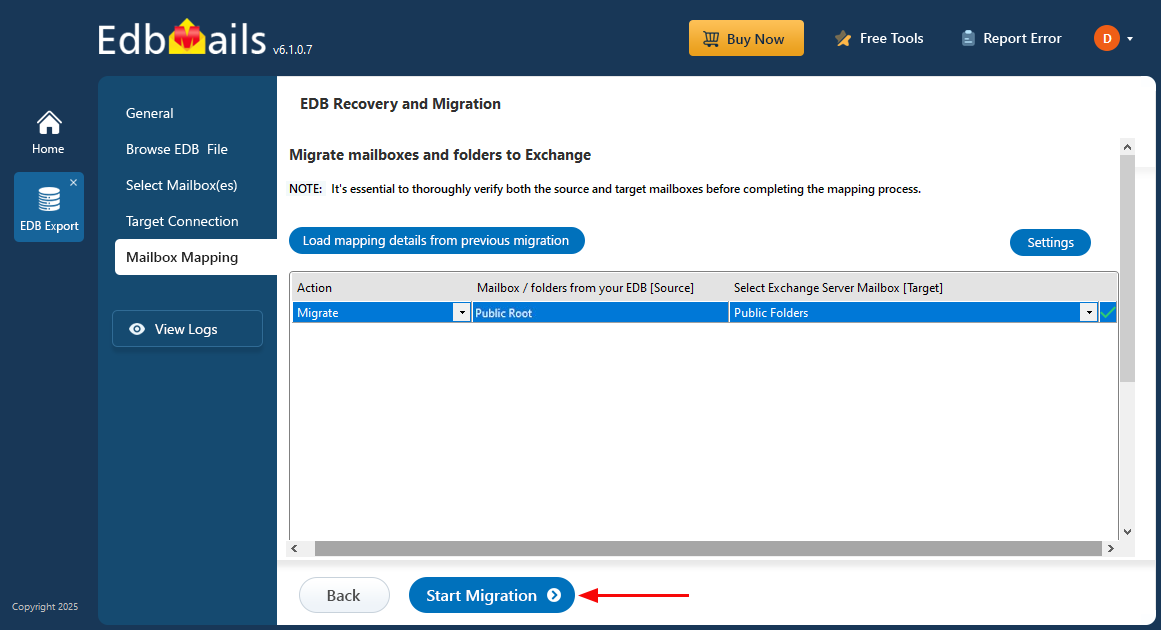
- Click on the ‘Start Migration’ button to initiate the migration process.
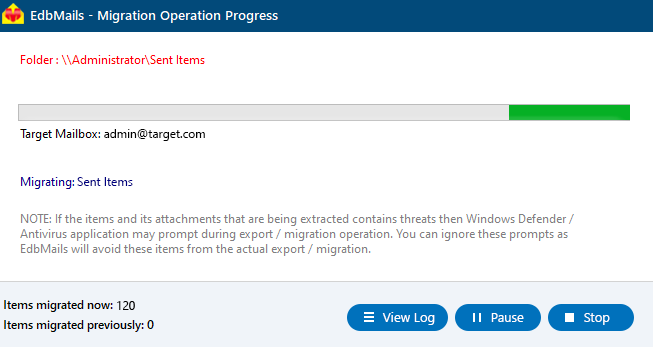
- That's it! You can track the migration progress, with the flexibility to pause and resume whenever needed. Once the migration is complete, a confirmation message will prompt.
- You can check the migrated folders and items through the migration report, which offers a detailed, text-based log of the entire migration process.
Benefits of using EDB Public Folder to Exchange
- Seamless migration of public folders from EDB to Exchange server without any server downtime.
- Retains source public folder structure and hierarchy during the migration process.
- Ensures no data loss or corruption while transferring large volumes of public folder data.
- Supports a wide range of versions for both EDB and Exchange server.
- Improves accessibility and collaboration by consolidating public folders in the Exchange server.
- Offers secure data transfer with encryption during the migration process.
- Reduces manual intervention, saving time and effort for IT teams.


