Migrate Exchange 2013 public folders to Office 365
Migrating Exchange 2013 public folders to Office 365 brings significant benefits, including improved collaboration, better accessibility, and easier management. Office 365’s cloud-based features enhance scalability and security, making it a robust solution for organizations. Public folders, crucial for sharing emails and calendars across teams, gain from the flexibility and advanced features offered by Office 365.
However, the migration process can be complex, requiring secure data transfer, preservation of folder structure, and retention of user permissions. EdbMails Exchange Migration software EdbMails simplifies Exchange 2013 public folders to Office 365 migration process, ensuring a smooth migration without disruption to daily operations.
EdbMails Exchange Migration software is designed to migrate public folders from Exchange 2013 to Office 365, preserving folder hierarchy and user permissions while ensuring secure data transfer. The software handles large volumes of data without causing downtime, automatically addresses throttling errors and connection interruptions, and supports concurrent mailbox migrations to maximize speed while staying within throttling limits. It’s the ideal solution for organizations migrating public folders to Office 365.
Exchange 2013 public folder migration to Office 365 planning
Before you migrate Exchange 2013 public folders to Office 365, it's essential to assess the migration requirements and prerequisites. Below is a checklist to help you identify and prepare your environments effectively.
- Assess if your current migration environment is Hybrid or non-Hybrid.
- Evaluate the total size and number of Public folders you plan to migrate.
- Create Public folders in Office 365 and ensure they are configured for mail.
- Determine whether you want to execute the migration in one go or in multiple phases.
- Review your internet connection speed and network setup.
- Decide if you will transfer Public folders to other Public folders, Primary mailboxes, or Shared mailboxes on the destination server.
Check out the essential requirements for migrating public folders to Office 365.
Exchange 2013 public folder to Office 365 : pre-migration activities
- Step 1: Assign admin permissions to all source Public folders
Steps to assign admin permissions to Exchange public folders migration
- Step 2: Create public folders on the target Office 365 server
Ensure to create Public folders on your target Office 365 server and assign the admin permissions to all the public folders
Create Office 365 Public folder and assign admin permissions
If your mailboxes are in a Hybrid environment, it is not possible to migrate the Public folders directly to Office 365. Refer to this workaround solution to migrate Public folders in a hybrid environment.
- Step 3: Add a custom domain to Office 365 (Optional)
If you have a custom email domain from your hosting provider to which you want to migrate and receive emails, you must add and verify the domain on Office 365.
- Step 4: Install cumulative updates (CU) on Exchange server 2013
For migrating Exchange server 2013 to Office 365, it is required that you have latest cumulative updates (CU15 or later) installed on the source server (2013)
- Step 1: Assign admin permissions to all source Public folders
Steps to migrate Exchange 2013 public folders to Office 365
Step 1: Download and install EdbMails software setup
- Download EdbMails and install the software on any computer with Windows OS connected to your source Exchange 2013 server..
System requirements for Exchange 2013 to Office 365 public folder migration
- Once installed, launch the application and 'Login' with the required details or 'Start Your Free Trial.'
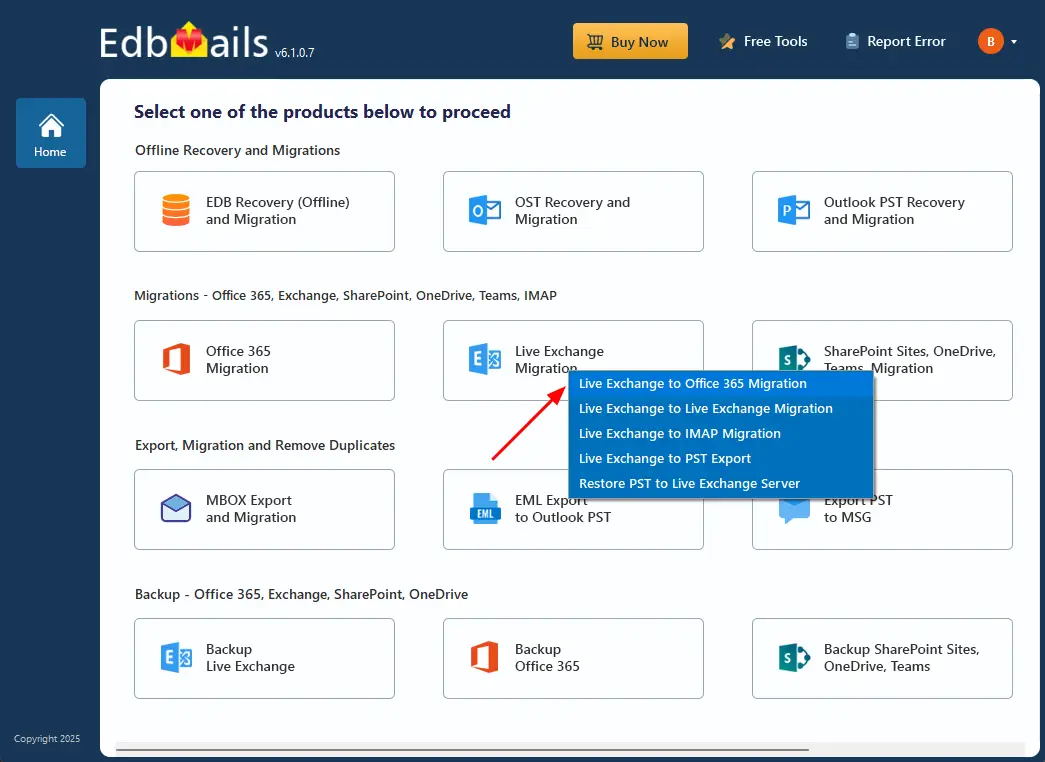
- Choose the ‘Live Exchange Migration’ option.
- Select 'Live Exchange to Office 365 Migration'
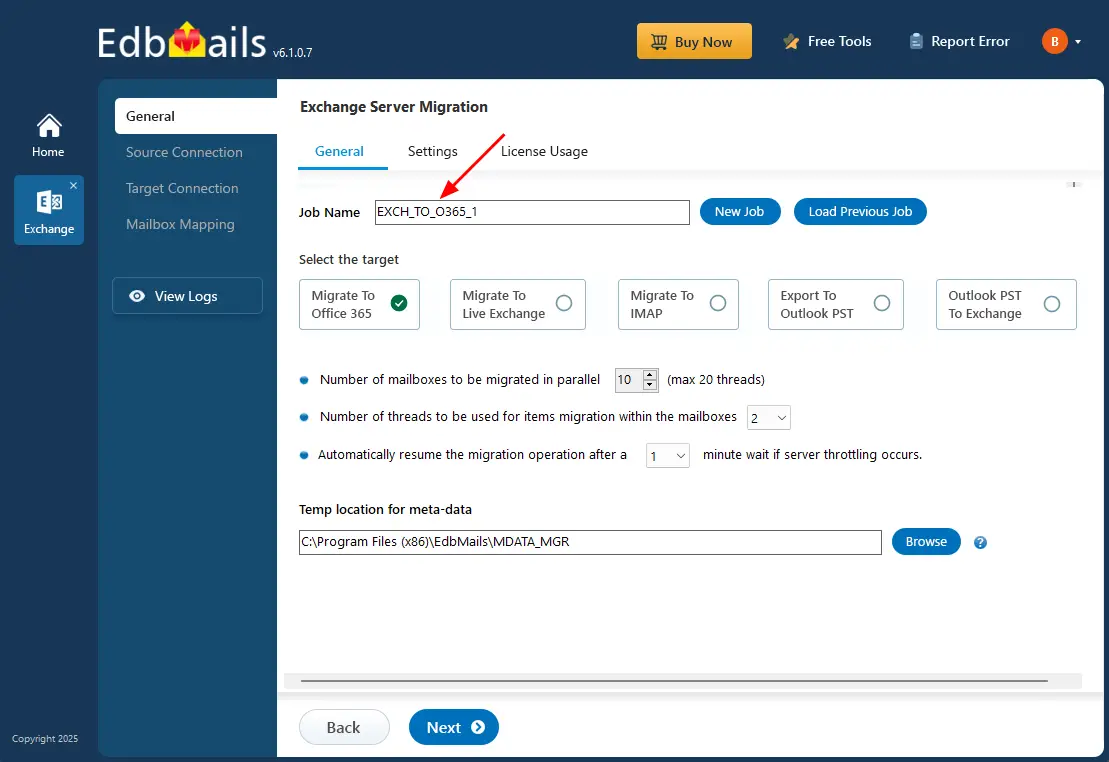
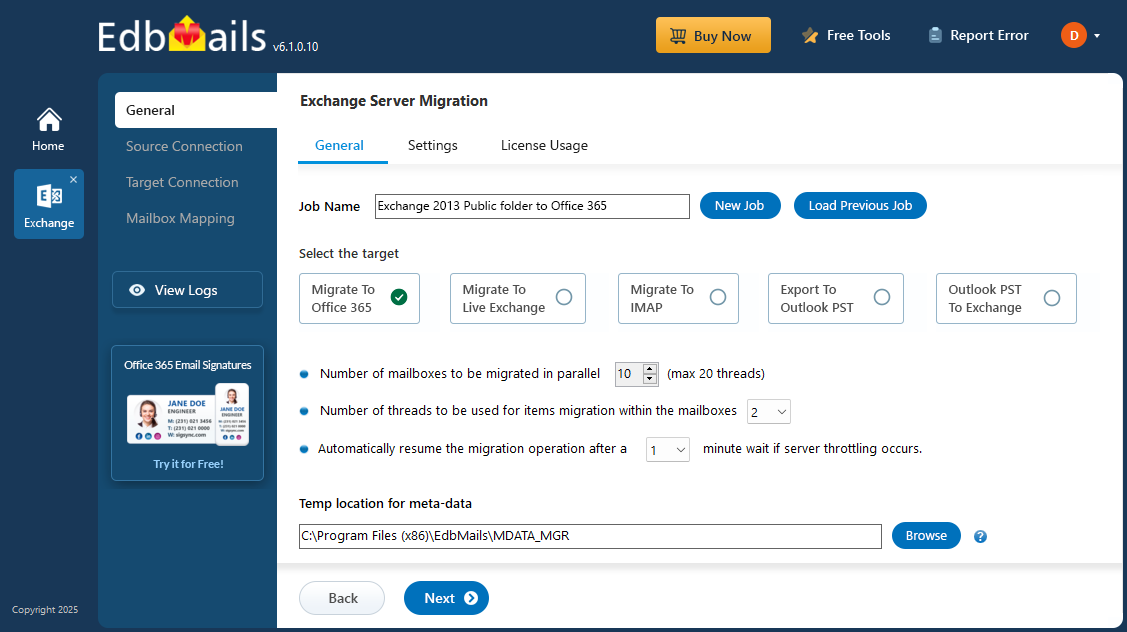
- You can keep the default job name or click the ‘New Job’ button if you wish to change it.
- Download EdbMails and install the software on any computer with Windows OS connected to your source Exchange 2013 server..
Step 2: Connect to source Exchange 2013 server
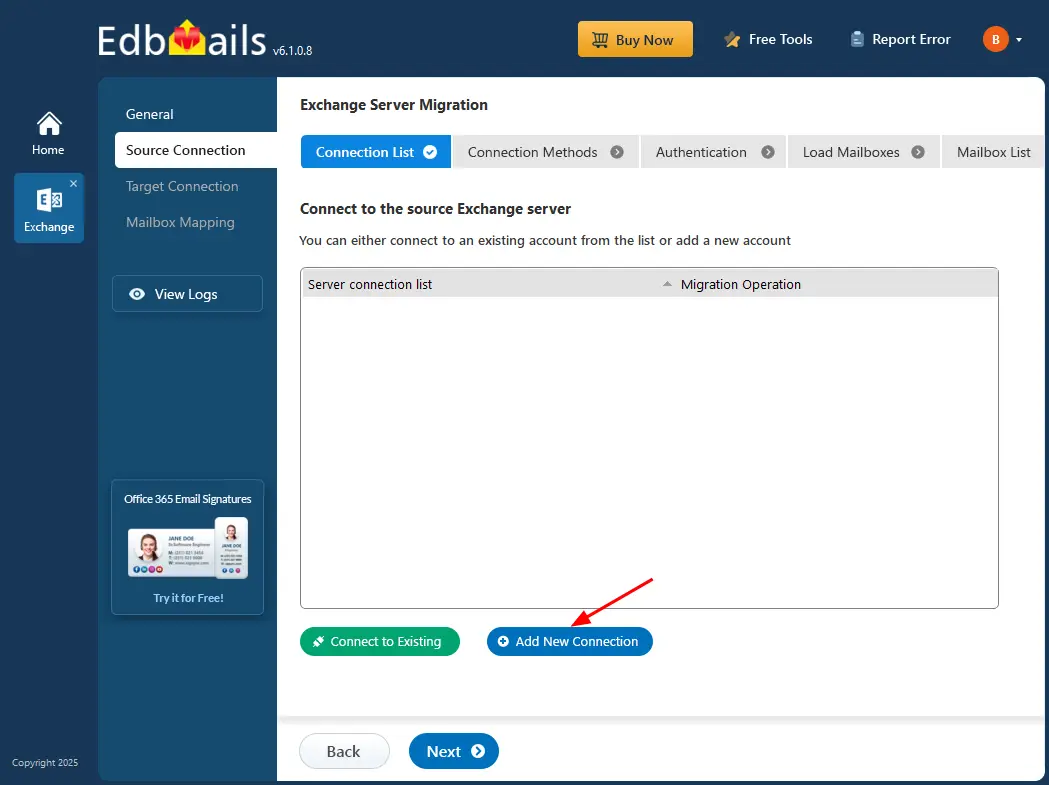
- Click ‘Add New Connection’ to establish a connection to the source Exchange server. If you want to reconnect using an existing connection, simply choose it from the list and click ‘Connect to Existing’.
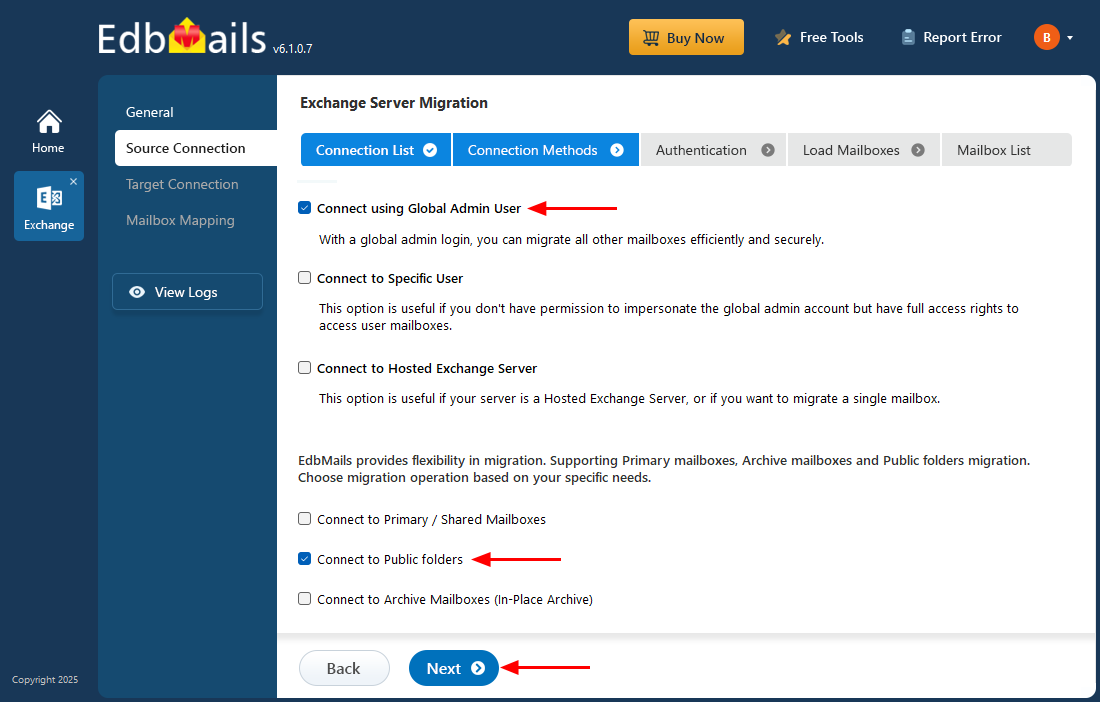
- ️Select the ‘Connect to Public folders’ option and click the ‘Next’ button.
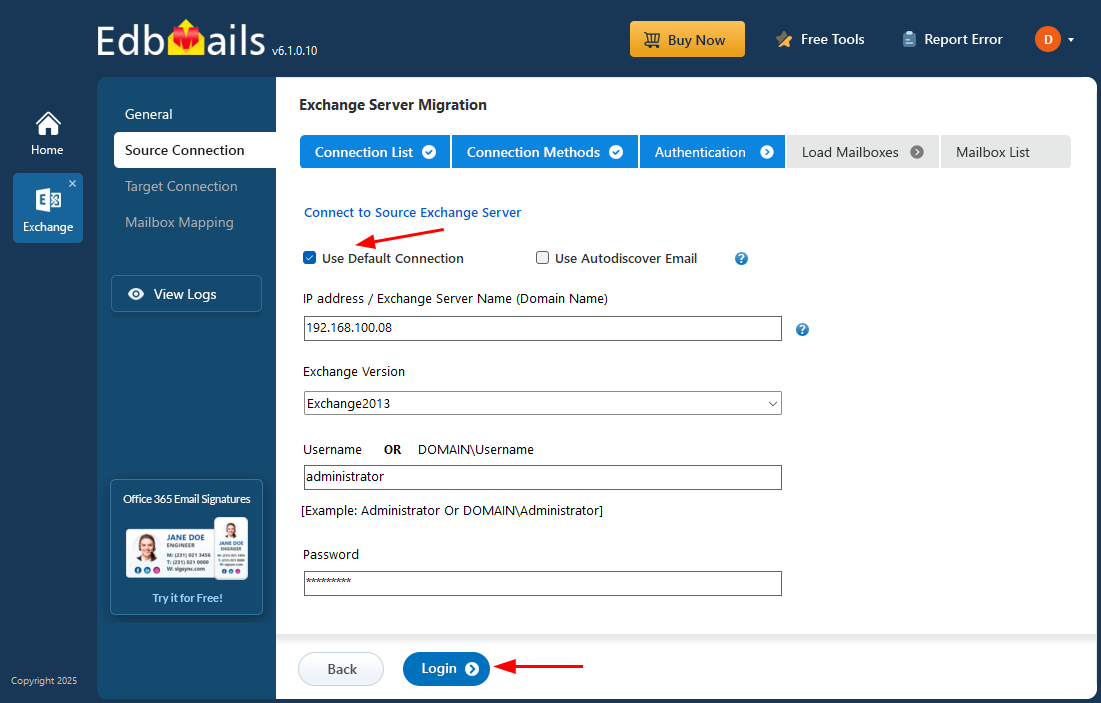
- Enter the Exchange 2013 server details and click the ‘Login’ button.
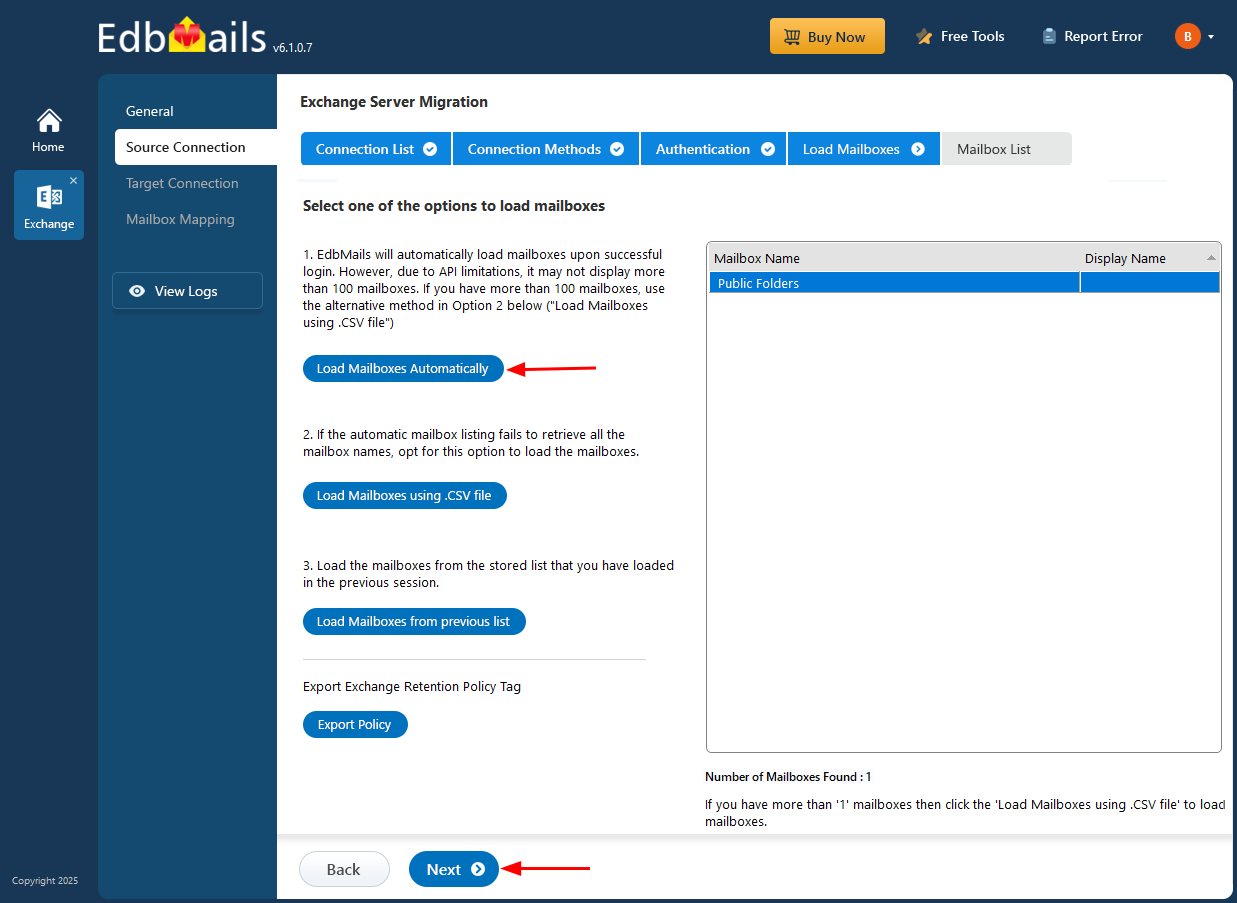
- Select one of the methods to load the Public folders.
Step 3: Select Exchange 2013 Public folders
- Choose Exchange 2013 public folders you need to migrate to Office 365.
- Then, click 'Next' to initiate the connection with the target server.
If this is the first migration using EdbMails, it will be a full migration. Any subsequent migrations from the same source to the target will be incremental migration.
Step 4: Connect to target Office 365 server
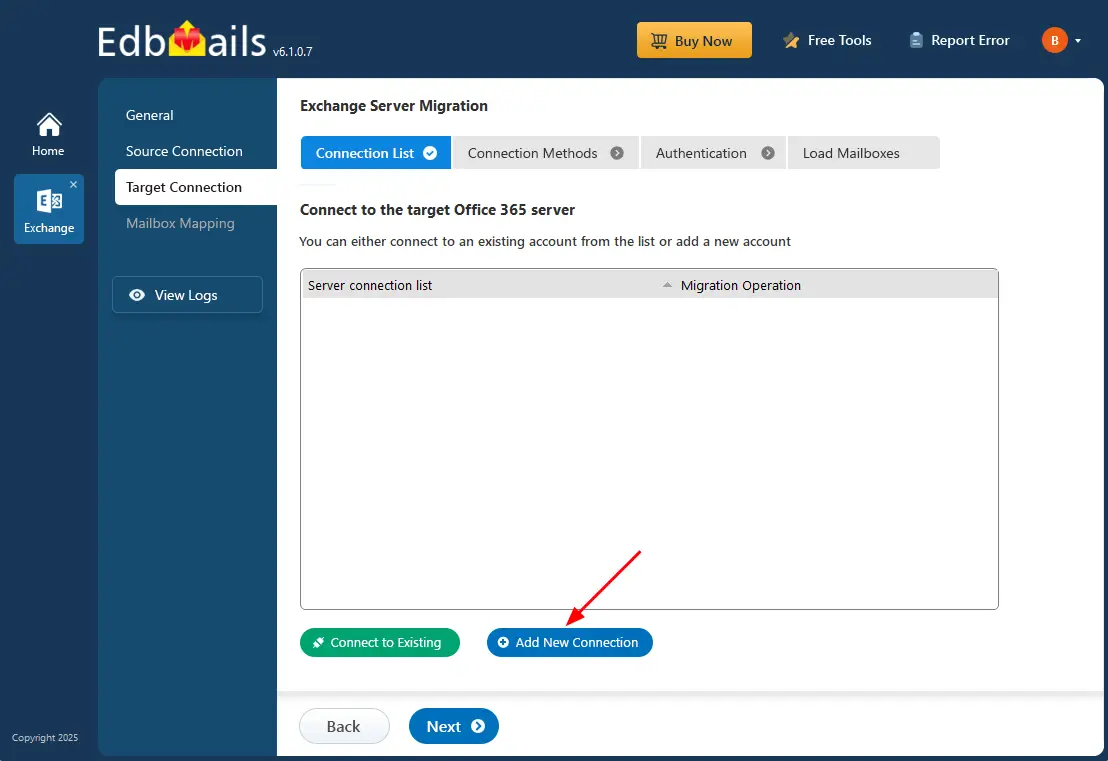
- Click the ‘Add New Connection’ button to create a fresh connection to the target Office 365 server. To reconnect using a previously established connection, choose it from the list and click ‘Connect to Existing’ to continue.
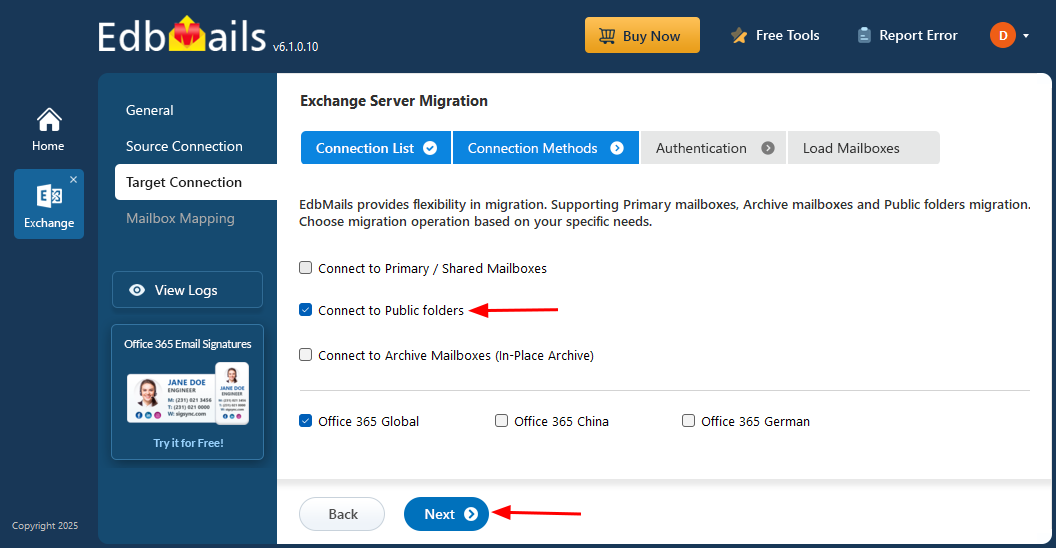
- Choose the ‘Connect to Public folders’ option and click the ‘Next’ button.
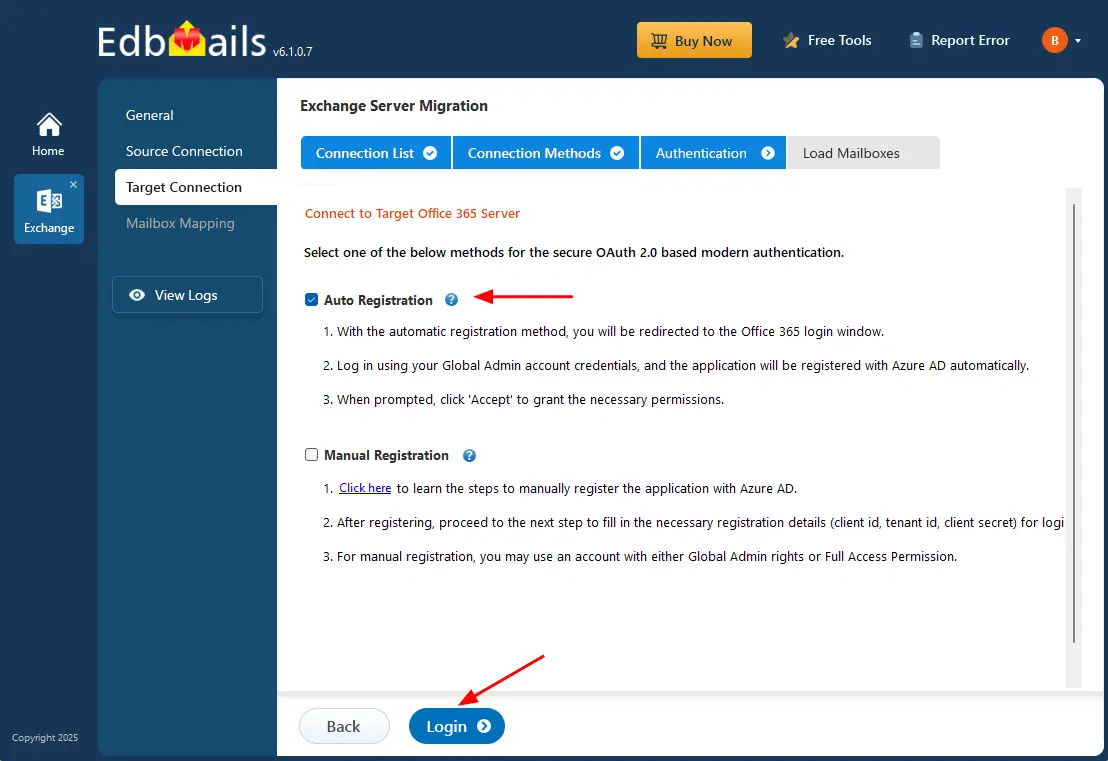
- Select one of the authentication methods and click the ‘Login’ button.
- Authenticate on Microsoft sign-in page.
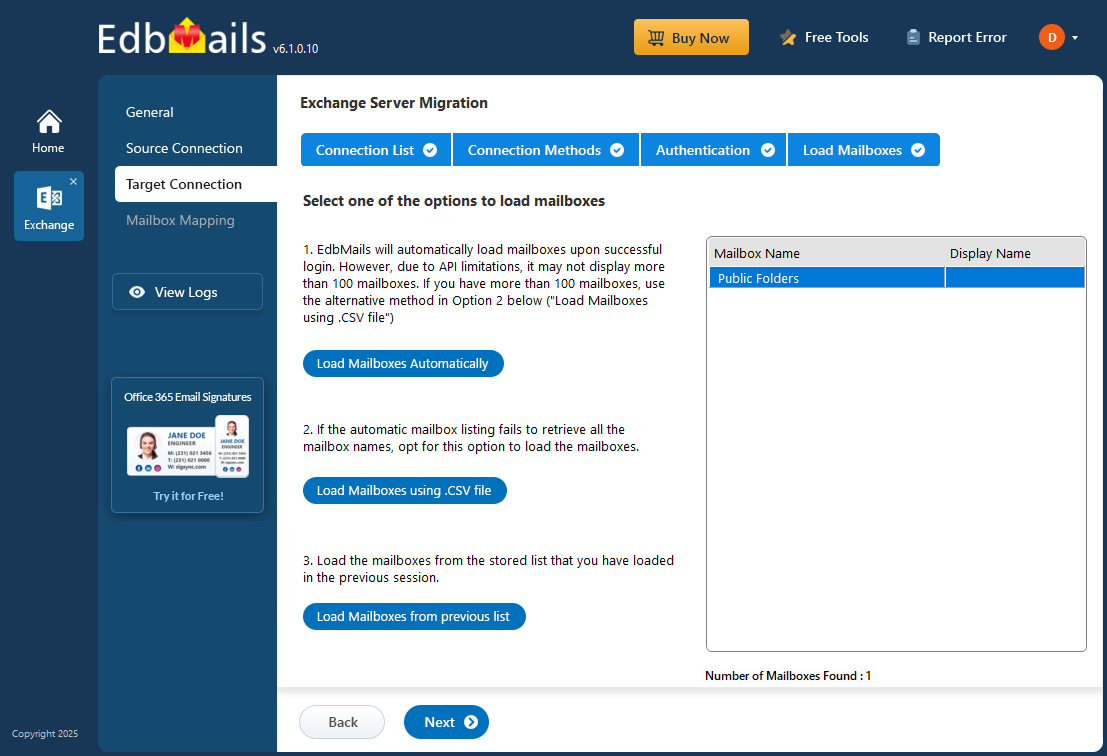
- Select one of the methods to load the public folders and click ‘Next’.
Step 5: Exchange 2013 to Office 365 public folders Mapping
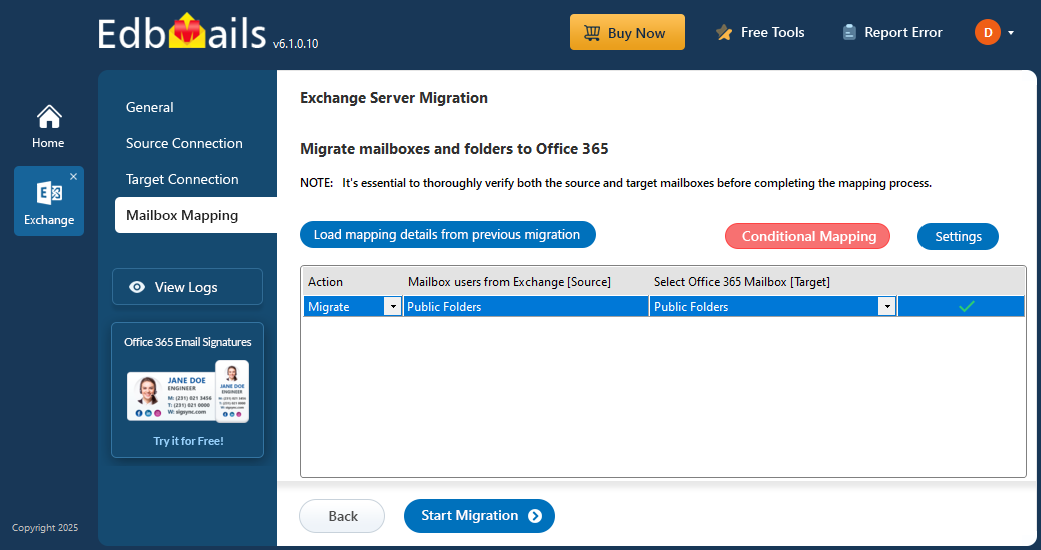
- EdbMails automatically maps the public folders between Exchange 2013 server and Office 365 , simplifying the process and eliminating the manual effort.
- EdbMails allows you to apply filters Settings to migrate only the data based on items received/sent within the date range, sender email address, recipient address, email subject, sender address, recipient address, read and unread status of the message etc. Click the ‘Settings’ button to apply the filters.
Step 6: Start Exchange 2013 public folder migration to Office 365
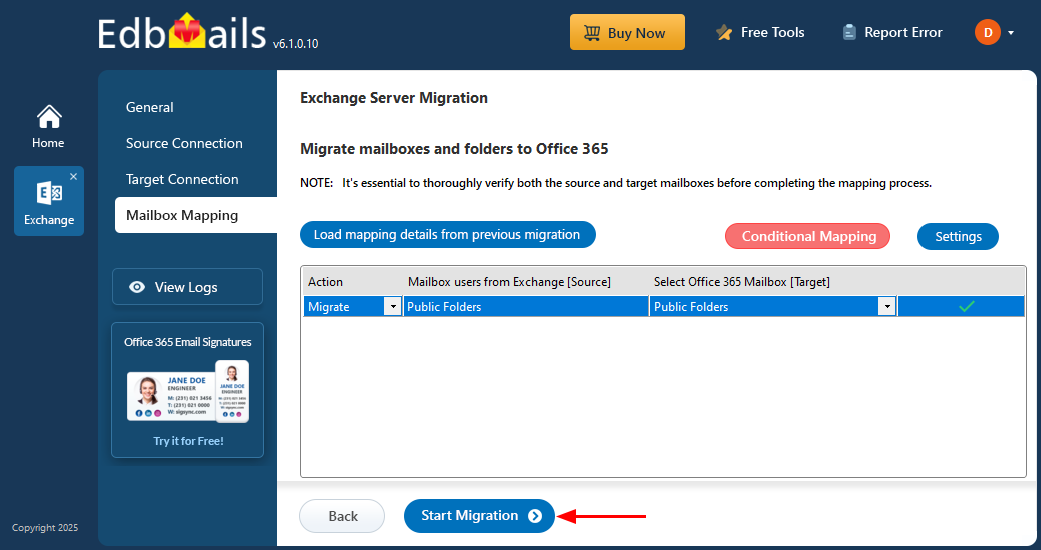
- Click the ‘Start Migration’ button to begin the migration process
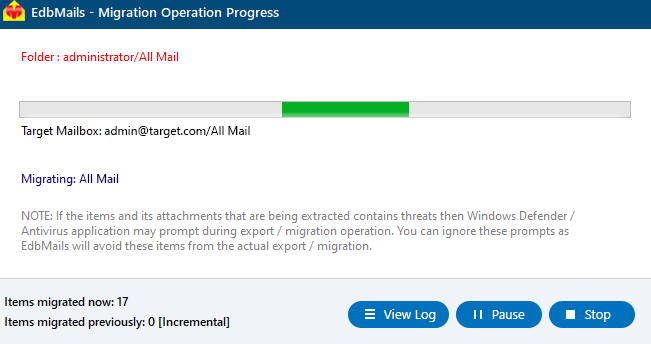
- The migration process is now underway, and you can track its progress through the progress bar. Once the migration is finished, EdbMails will display a completion message. To see the migration report, simply click the 'View Logs' button.
Exchange 2013 public folder migration to Office 365 troubleshooting
Refer to the Exchange migration troubleshooting guide and the Public folder troubleshooting resources for potential solutions to migration errors. For further information regarding EdbMails Exchange migration, refer to the frequently asked questions.
Solution for public folders migration failure due to insufficient permissions
Benefits of EdbMails to migrate Exchange 2013 public folders to Office 365
- EdbMails ensures high-performance migration of Exchange public folders to Office 365.
- The software incorporates automatic throttling to optimize migration speeds and maintain efficiency.
- Public folder structures and permissions are preserved throughout the migration process.
- Migrate public folders without the need for complex PowerShell scripts, making the process user-friendly with an intuitive interface.
- Allows for direct migration of public folders from Exchange 2013 to Office 365 without any intermediate steps.
- Supports the migration of Exchange public folders to shared mailboxes.
- Incremental migration helps prevent duplicate items during subsequent migrations, ensuring data integrity.
- Provides an optimal solution for migrating public folders with zero downtime, ensuring no disruption to ongoing operations.
- Guarantees that all data is securely migrated without any loss


